How to Check Out a Remote Git Branch
When working with Git, collaborating on projects often means dealing with remote branches. These branches are essential for managing changes and updates from multiple contributors. Understanding how to check out a remote Git branch can significantly enhance your workflow, making it easier to access and work on features or fixes that are being developed by others in your team.
In this article, we will explore the steps to check out a remote Git branch using the git checkout command. Whether you are new to Git or looking to refresh your knowledge, this guide will provide you with the necessary commands and explanations to navigate remote branches effectively. Let’s dive into the world of Git and streamline your development process!
Understanding Remote Branches in Git
Before we get into the specifics of checking out a remote branch, it’s important to understand what remote branches are. In Git, a remote branch is a branch that exists on a remote repository, like GitHub or GitLab, and is not available in your local repository until you check it out. Remote branches allow you to collaborate with others by providing a way to share code changes without directly affecting the main codebase until you’re ready to merge.
When you clone a repository, Git creates a local copy of all the branches, but you can only see the remote branches if you explicitly check them out. This is where the git checkout command comes into play. It allows you to switch to a specific branch, whether it’s local or remote, enabling you to work on the latest changes and updates.
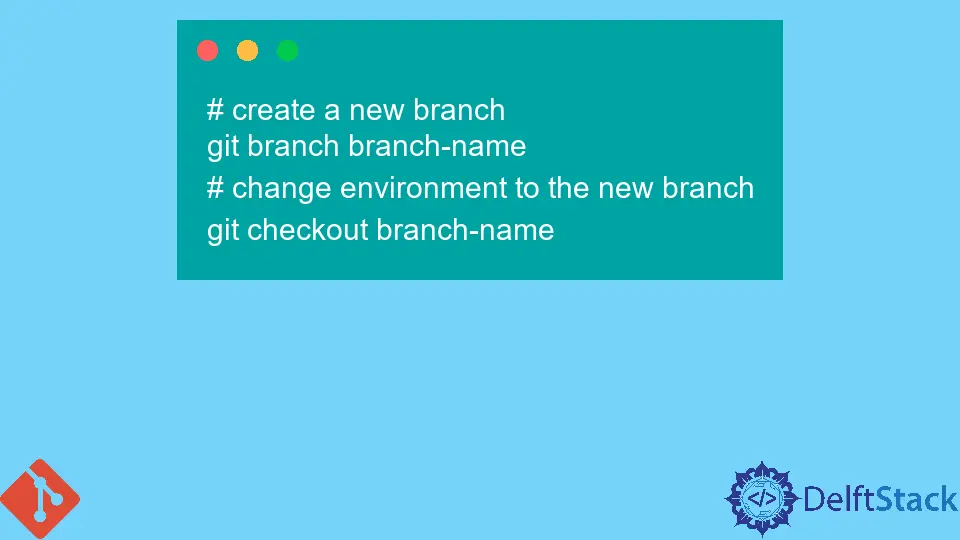
Checking Out a Remote Branch
Step 1: Fetching Remote Branches
Before you can check out a remote branch, you need to ensure that your local repository is up to date with the remote repository. This is done using the git fetch command. Fetching updates your local copy of the remote branches without merging any changes into your current branch.
Here’s how to do it:
git fetch origin
This command fetches all branches from the remote repository named origin. After executing this command, you’ll have the latest information about the remote branches, but you won’t have switched to any of them yet.
Executing the above command will not produce any output, but it updates your local repository with the latest information about the remote branches.
Step 2: Checking Out the Remote Branch
Now that you have fetched the latest updates, you can check out the remote branch you are interested in. Use the git checkout command followed by the branch name. If the branch you want to check out is named feature-branch, you would run the following command:
git checkout -b feature-branch origin/feature-branch
In this command:
-bcreates a new local branch namedfeature-branch.origin/feature-branchspecifies that you want to check out the branch from the remote repository namedorigin.
This command effectively creates a local branch that tracks the remote branch, allowing you to work on it seamlessly.
The output of this command will look something like this:
Switched to a new branch 'feature-branch'
This message confirms that you have successfully switched to the new local branch that tracks the remote branch.
Step 3: Verifying Your Current Branch
Once you’ve checked out the remote branch, it’s a good practice to verify that you are on the correct branch. You can do this using the git branch command, which lists all local branches and indicates the current branch with an asterisk.
Here’s the command:
git branch
When you run this command, you’ll see an output similar to the following:
  main
* feature-branch
The asterisk next to feature-branch indicates that you are currently on this branch. This step is crucial as it ensures you are working on the intended branch before making any changes.
Conclusion
Checking out a remote Git branch is a straightforward process that can significantly improve your collaboration and workflow. By using the git fetch and git checkout commands, you can easily access and work on branches that are being developed by your team. Remember to verify your current branch to ensure you are making changes in the right place. With these steps, you can navigate remote branches with confidence and efficiency.
FAQ
-
How do I see all remote branches?
You can see all remote branches by using the commandgit branch -r. This will list all branches available in your remote repository. -
Can I check out a remote branch without creating a local branch?
No, you cannot directly check out a remote branch. You need to create a local branch that tracks the remote branch using thegit checkout -bcommand. -
What should I do if I encounter merge conflicts after checking out a remote branch?
If you encounter merge conflicts, you will need to resolve them manually. Git will mark the conflicting files, and you can edit them to resolve the conflicts before committing your changes. -
How can I delete a local branch that I no longer need?
You can delete a local branch using the commandgit branch -d branch-name. If you want to forcefully delete it, you can usegit branch -D branch-name. -
Is it possible to switch between multiple remote branches easily?
Yes, you can switch between remote branches by checking them out as local branches using thegit checkout -b branch-name origin/branch-namecommand for each branch you want to work on.

Abdul is a software engineer with an architect background and a passion for full-stack web development with eight years of professional experience in analysis, design, development, implementation, performance tuning, and implementation of business applications.
LinkedIn