How to Use Dynamic URL Inside the Template in Django
We will learn, with this explanation, how to use the url tag in templates and add links inside the templates in Django.
Use Dynamic URL Inside the Template With the Help of the url Tag in Django
Let’s start by including a link inside our HTML file. We must create two HTML files inside the templates folder, which we have made in our Django app called demo.
We will create the index.html file, and inside this file, we will add a Bootstrap starter template, a free source for users.
If you want to link to other pages in your app, the most straightforward way to do it would be something like this:
<a href='/profile'>User profile</a>
Now, we will create a new URL for the profile page, and then we will create a view called profile.
from django.urls import path
from . import views

urlpatterns = [
    path("", views.INDEX),
    path("profile", views.PROFILE),
]
Now, we will create two views, INDEX and PROFILE, inside the views.py file. Then, we will return two templates: the first one is index.html, and another one is profile.html.
from django.shortcuts import render


def INDEX(request):
    return render(request, "index.html")


def PROFILE(request):
    return render(request, "profile.html")
Now, we will create a profile.html file inside the templates folder using the same Bootstrap starter template.
After saving this and running the server, we will go to /profile. We will see that if we go to the link that we created, it sends us to the same page because we are referring to it directly using this code <a href='/profile'>User profile</a> inside the index.html file.
But if we change the URL from profile to myprofile inside urlpatterns located in the demo app inside the urls.py file:
path("myprofile", views.PROFILE),
After saving it, when we go to the browser and click on the link, we get a Page not found.
The first thing to do is to fix the error. We can handle it using a name argument that we will put inside the path() function, which will be set to profile.
Then, inside the index, instead of referring to the profile directly, we will use the url tag inside the curly brackets. And in this case, the name of the URL would be profile.
path("myprofile", views.PROFILE, name="profile"),
When we go back to our browser and click on the link, it automatically updates the endpoint for us.

We can take another advantage of using variables inside the endpoints to pass it with a leading slash. We will use str because we want to send a string data type and add our variable name.
path("myprofile/<str:username>", views.PROFILE, name="profile")
Now, we will go to views.py, and inside the PROFILE() function, we will add a username parameter. Then, we will create a CONTEXT, pass the username as a value, and pass this CONTEXT variable to the render() function.
We will access the username by writing it within the double curly brackets inside the index.html file.
def PROFILE(request, username):
    CONTEXT = {"username": username}
    return render(request, "profile.html", CONTEXT)
If we go to our browser and pass the username to the endpoint and hit Enter, we will see the profile page with the username we passed to the endpoint.
If we want to pass the username through the link, we will need to go to views and do the same thing inside the INDEX() function as we did inside the PROFILE() function. We will pass the CONTEXT to the index.html file.
def INDEX(request):
    CONTEXT = {"name": "John"}
    return render(request, "index.html", CONTEXT)
Now, we will pass the name to the url tag, so it will automatically take the name.
<a href="{% url 'profile' name %}"">User profile</a>
It will look for a place where it can insert it inside the urls.py, which is here <str:username>, and it will update that automatically.
If we go ahead and click on the link, we can see it took the name we gave to it and sent it over to the profile because it knows that the profile can handle an extra argument.
If we had multiple arguments, we would just put a space there, and we can add more things to pass to the url tag.
Complete Source Code of the views.py File:
from django.shortcuts import render


def INDEX(request):
    CONTEXT = {"name": "John"}
    return render(request, "index.html", CONTEXT)


def PROFILE(request, username):
    CONTEXT = {"username": username}
    return render(request, "profile.html", CONTEXT)
Complete Source Code of the index.html File:
<!doctype html>
<html lang="en">
<head>
<!-- Required meta tags -->
<meta charset="utf-8">
<meta name="viewport" content="width=device-width, initial-scale=1">
<!-- Bootstrap CSS -->
<link href="https://cdn.jsdelivr.net/npm/bootstrap@5.0.2/dist/css/bootstrap.min.css" rel="stylesheet" integrity="sha384-EVSTQN3/azprG1Anm3QDgpJLIm9Nao0Yz1ztcQTwFspd3yD65VohhpuuCOmLASjC" crossorigin="anonymous">
<title>Hello, world!</title>
</head>
<body>
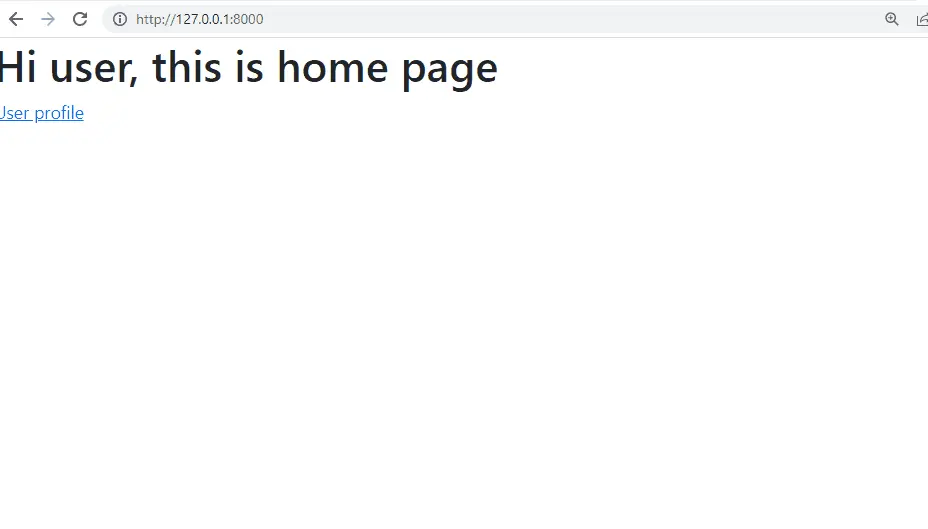
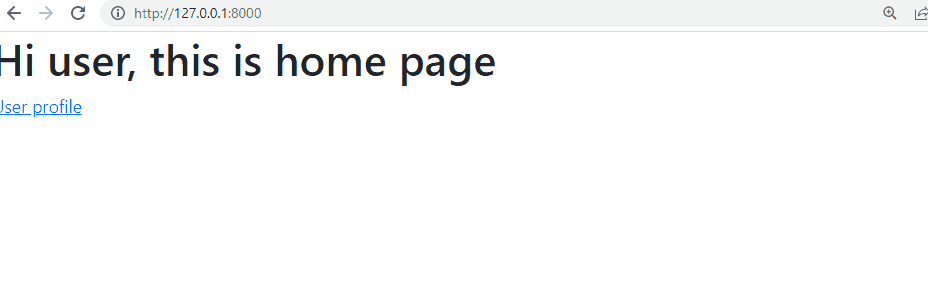
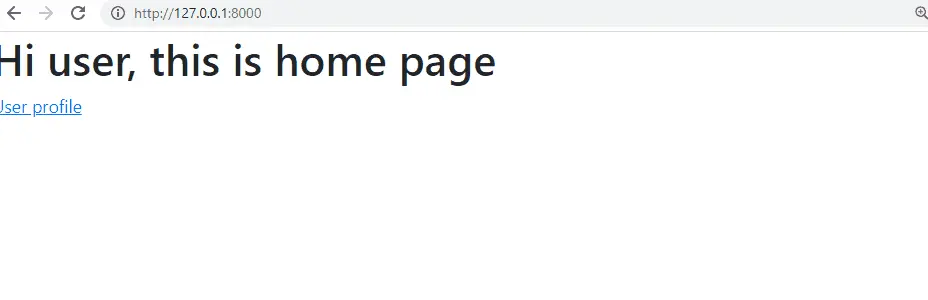
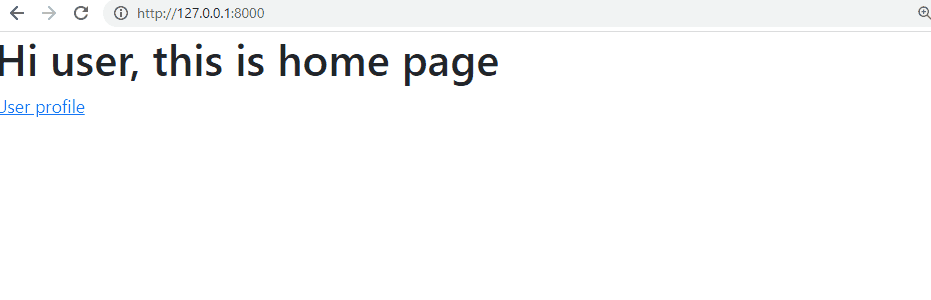
<h1>Hi user, this is home page</h1>
<a href="{% url 'profile' name %}"">User profile</a>
<!-- Optional JavaScript; choose one of the two! -->
<!-- Option 1: Bootstrap Bundle with Popper -->
<script src="https://cdn.jsdelivr.net/npm/bootstrap@5.0.2/dist/js/bootstrap.bundle.min.js" integrity="sha384-MrcW6ZMFYlzcLA8Nl+NtUVF0sA7MsXsP1UyJoMp4YLEuNSfAP+JcXn/tWtIaxVXM" crossorigin="anonymous"></script>
<!-- Option 2: Separate Popper and Bootstrap JS -->
<!--
<script src="https://cdn.jsdelivr.net/npm/@popperjs/core@2.9.2/dist/umd/popper.min.js" integrity="sha384-IQsoLXl5PILFhosVNubq5LC7Qb9DXgDA9i+tQ8Zj3iwWAwPtgFTxbJ8NT4GN1R8p" crossorigin="anonymous"></script>
<script src="https://cdn.jsdelivr.net/npm/bootstrap@5.0.2/dist/js/bootstrap.min.js" integrity="sha384-cVKIPhGWiC2Al4u+LWgxfKTRIcfu0JTxR+EQDz/bgldoEyl4H0zUF0QKbrJ0EcQF" crossorigin="anonymous"></script>
-->
</body>
</html>
Complete Source Code of the profile.html File:
<!doctype html>
<html lang="en">
  <head>
    <!-- Required meta tags -->
    <meta charset="utf-8">
    <meta name="viewport" content="width=device-width, initial-scale=1">

    <!-- Bootstrap CSS -->
    <link href="https://cdn.jsdelivr.net/npm/bootstrap@5.0.2/dist/css/bootstrap.min.css" rel="stylesheet" integrity="sha384-EVSTQN3/azprG1Anm3QDgpJLIm9Nao0Yz1ztcQTwFspd3yD65VohhpuuCOmLASjC" crossorigin="anonymous">

    <title>Hello, world!</title>
  </head>
  <body>
    <h1>Profile Section</h1>
    <p>This is a profile section of {{username}}</p>


    <!-- Optional JavaScript; choose one of the two! -->

    <!-- Option 1: Bootstrap Bundle with Popper -->
    <script src="https://cdn.jsdelivr.net/npm/bootstrap@5.0.2/dist/js/bootstrap.bundle.min.js" integrity="sha384-MrcW6ZMFYlzcLA8Nl+NtUVF0sA7MsXsP1UyJoMp4YLEuNSfAP+JcXn/tWtIaxVXM" crossorigin="anonymous"></script>

    <!-- Option 2: Separate Popper and Bootstrap JS -->
    <!--
    <script src="https://cdn.jsdelivr.net/npm/@popperjs/core@2.9.2/dist/umd/popper.min.js" integrity="sha384-IQsoLXl5PILFhosVNubq5LC7Qb9DXgDA9i+tQ8Zj3iwWAwPtgFTxbJ8NT4GN1R8p" crossorigin="anonymous"></script>
    <script src="https://cdn.jsdelivr.net/npm/bootstrap@5.0.2/dist/js/bootstrap.min.js" integrity="sha384-cVKIPhGWiC2Al4u+LWgxfKTRIcfu0JTxR+EQDz/bgldoEyl4H0zUF0QKbrJ0EcQF" crossorigin="anonymous"></script>
    -->
  </body>
</html>

Hello! I am Salman Bin Mehmood(Baum), a software developer and I help organizations, address complex problems. My expertise lies within back-end, data science and machine learning. I am a lifelong learner, currently working on metaverse, and enrolled in a course building an AI application with python. I love solving problems and developing bug-free software for people. I write content related to python and hot Technologies.
LinkedIn