Python で NumPy 配列を PIL イメージに変換する

このチュートリアルでは、PIL パッケージの Image.fromarray() を使って、NumPy 配列を PIL イメージに変換する方法を説明します。Python Imaging Library (PIL) は、様々な画像処理関数を持つ Python のライブラリです。
関数 Image.fromarray() は配列オブジェクトを入力として受け取り、その配列オブジェクトから作成した画像オブジェクトを返します。
Python で NumPy 配列を PIL 画像に変換する
import numpy as np
from PIL import Image

image = Image.open("lena.png")
np_array = np.array(image)

pil_image = Image.fromarray(np_array)
pil_image.show()
出力:

現在の作業ディレクトリにある画像 lena.png を Image から open() メソッドを用いて読み込み、画像オブジェクトを返します。
次に、この画像オブジェクトを numpy.array() メソッドを用いて NumPy 配列に変換します。
関数 Image.fromarray() を用いて配列を PIL イメージオブジェクトに変換し、最後に show() メソッドを用いてイメージオブジェクトを表示します。
import numpy as np
from PIL import Image

array = np.random.randint(255, size=(400, 400), dtype=np.uint8)
image = Image.fromarray(array)
image.show()
出力:
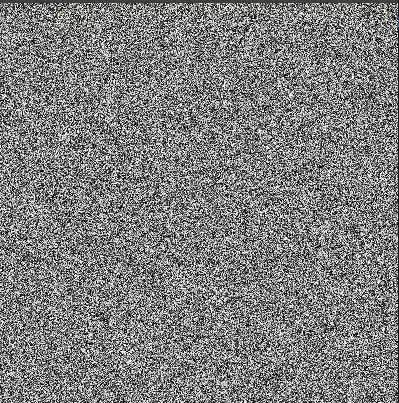
ここでは、0 から 255 までの乱数を含むサイズ 400x400 の NumPy 配列を作成し、その配列を Image.fromarray() 関数を用いて Image オブジェクトに変換し、show() メソッドを用いて image を表示します。
Matplotlib の Colormap を使って NumPy 配列を PIL イメージに変換する
import numpy as np
from PIL import Image
import matplotlib.pyplot as plt
from matplotlib import cm

image_array = plt.imread("lena.jpg")
image_array = image_array / 255
image = Image.fromarray(np.uint8(cm.plasma(image_array) * 255))
image.show()
出力:

これは Matplotlib パッケージの plasma カラーマップを適用します。画像にカラーマップを適用するには、まず array を 1 の最大値で正規化します。image_array の要素の最大値は上の例では 255 です。そこで、image_array を 255 で割って正規化します。
次に、image_array にカラーマップを適用し、再度 255 を乗算します。次に、np.uint8() メソッドを用いて要素を int 形式に変換します。最後に、関数 Image.fromarray() を用いて配列を画像に変換します。

Suraj Joshi is a backend software engineer at Matrice.ai.
LinkedIn