How to Use Google OAuth Authentication With React

In this article, you will learn how to use Google OAuth to construct an OAuth 2.0 compliant Authorization Code grant in a React project. This abstracts all the challenges associated with creating and maintaining an authentication solution away from you and onto Google OAuth.
Use Google OAuth Authentication With React
First, we must generate Google client ID and client secret. To begin, on your browser, search for "Google OAuth" and click the first link in the search results.
This page contains step-by-step procedures for obtaining the access keys. However, I will walk you through generating the client Id and secret appropriately.
Click the Google API Console link to receive the OAuth 2.0 client credentials.
Create a New Project
Now, choose Google-Oauth from the dropdown menu, and a modal should open, allowing you to select a current project or create a new one.
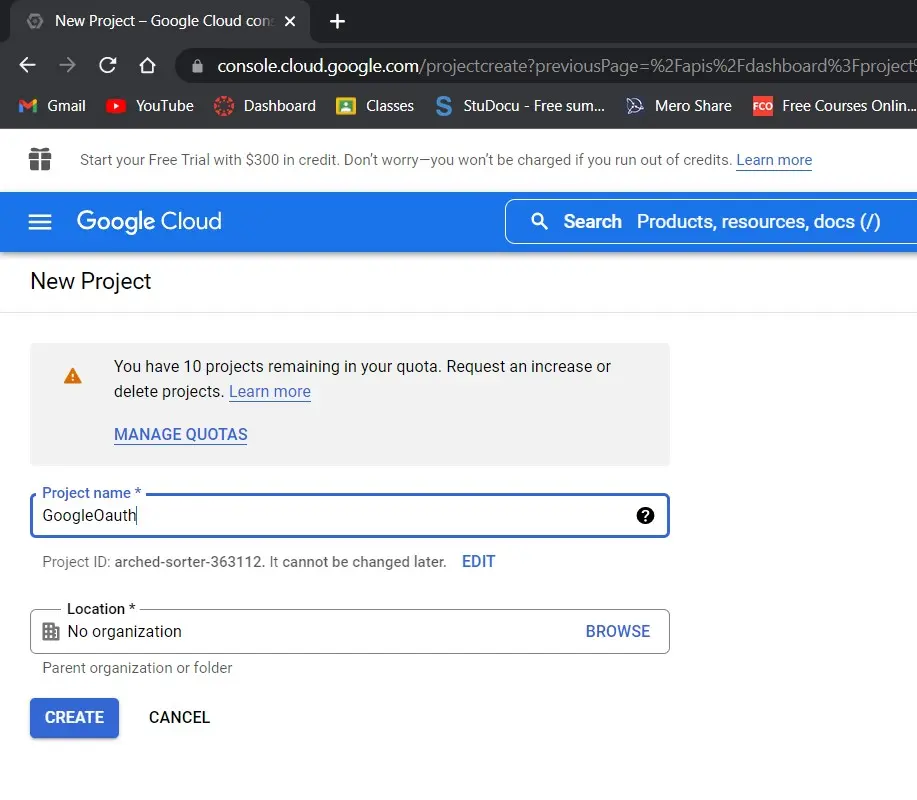
If you haven’t already, click the "New Project" button, input the project name, and click the "CREATE" button.
Create an OAuth Consent Screen
Before generating the credentials, we must develop a consent screen. When the user clicks the Sign in with Google OAuth button, they will be taken to the consent screen.
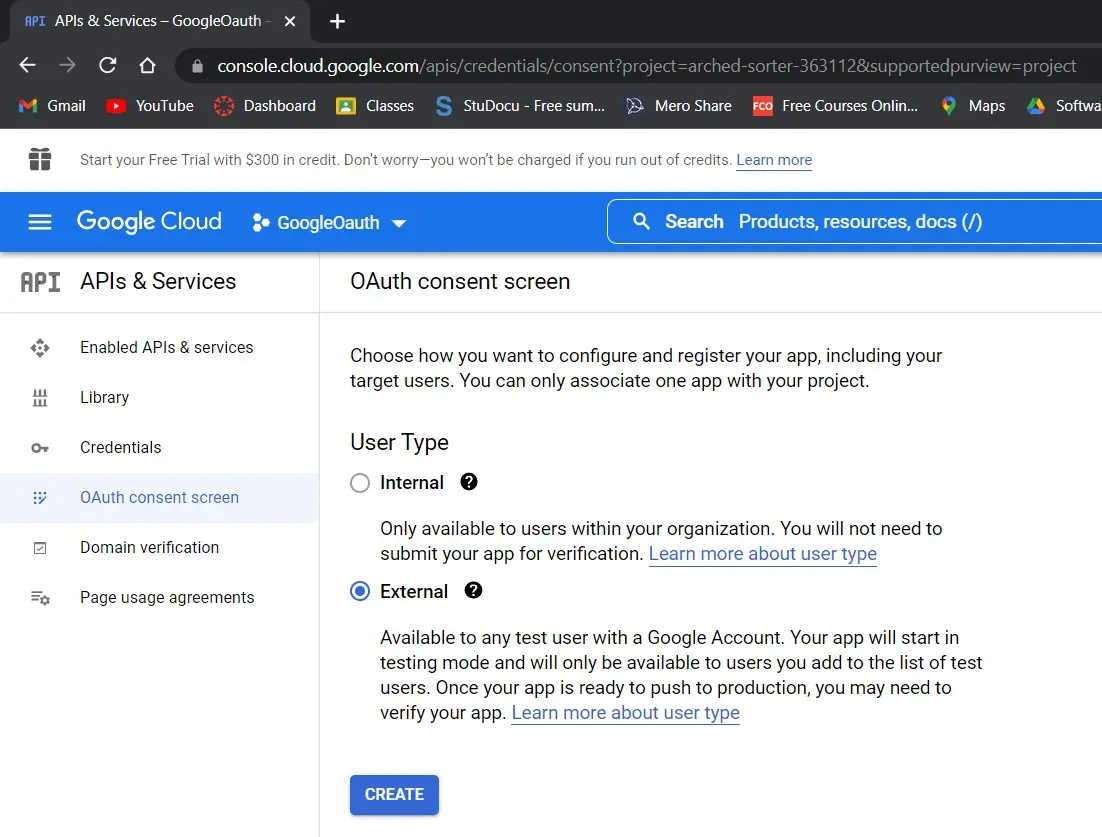
Then, click the OAuth consent screen option on the left sidebar under "APIs & Services". If your application is for the general public, select the External User Type and click the "CREATE" button on the OAuth consent screen.
After that, fill out the app consent page with the essential information.
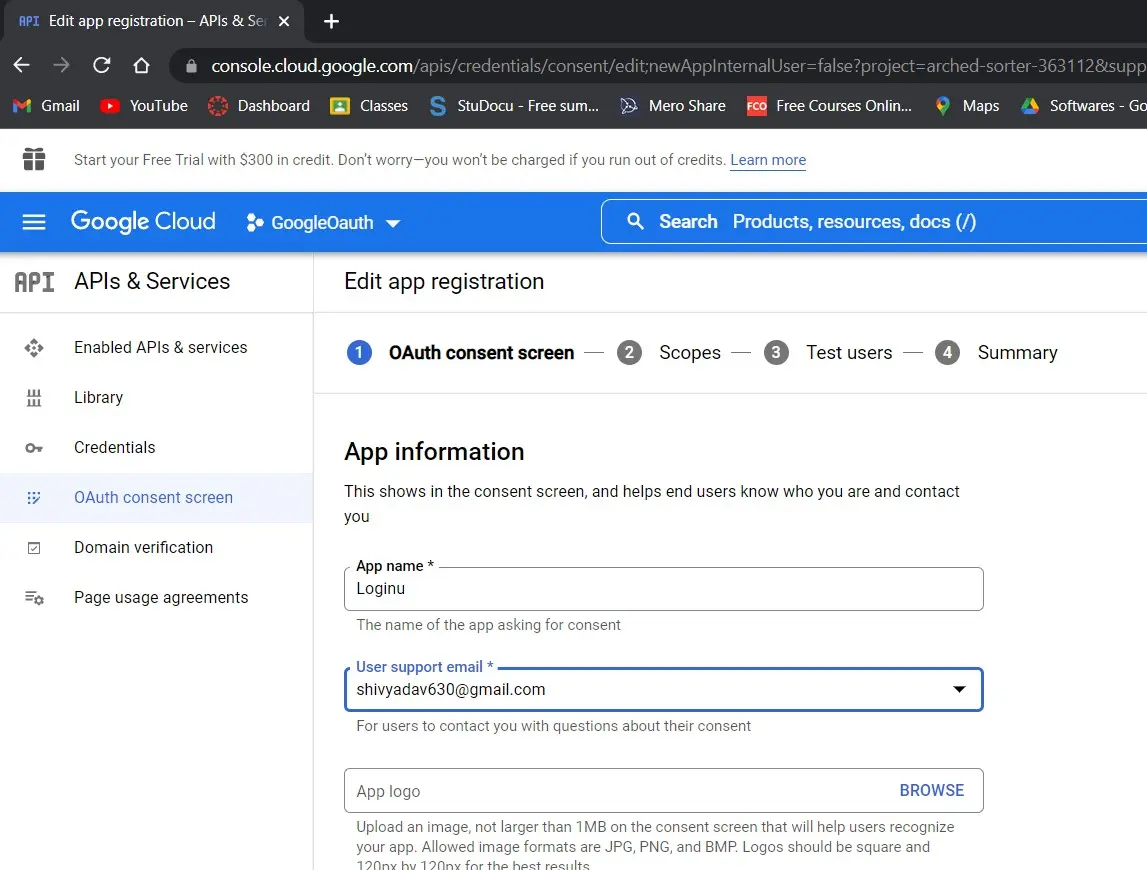
After you’ve completed the fields, click the "SAVE AND CONTINUE" button.
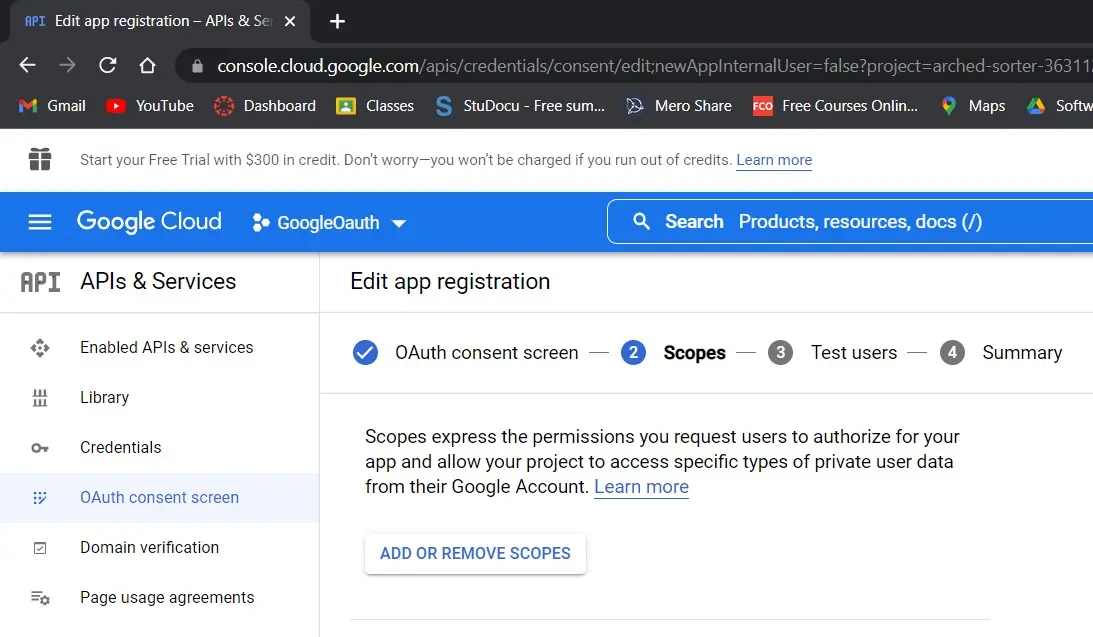
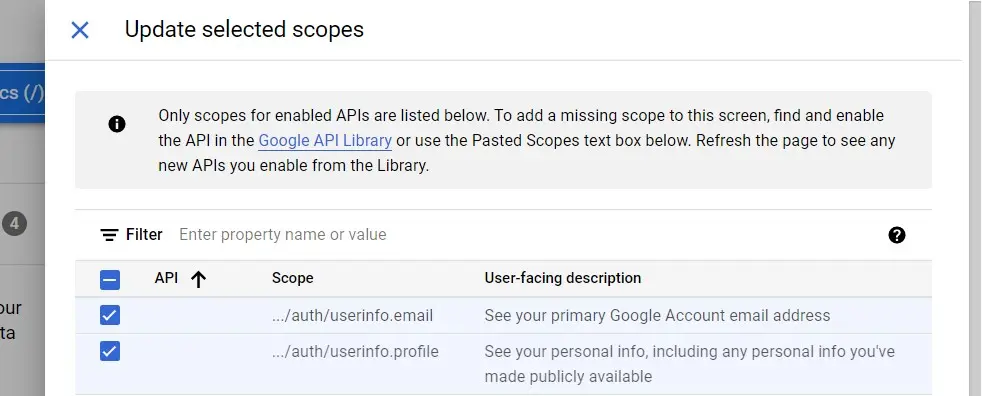
Click the "ADD OR REMOVE SCOPES" on the scopes page. The amount of scopes you may add is determined by the sort of application you are developing, but I am just interested in the user’s email address and profile information.
Scroll down and click the "UPDATE" button after selecting the scopes. Then, press the "SAVE AND CONTINUE" button.
To add a test user, go to the Test Users tab and click the "ADD USERS" button. Keep in mind that only the test user will be able to log into your application while in sandbox mode.
After you’ve added the test user, click "SAVE AND CONTINUE".
On the Summary tab, carefully verify your information and click the "BACK TO DASHBOARD" button when you are confident that the information you gave is valid.
Oauth Credentials
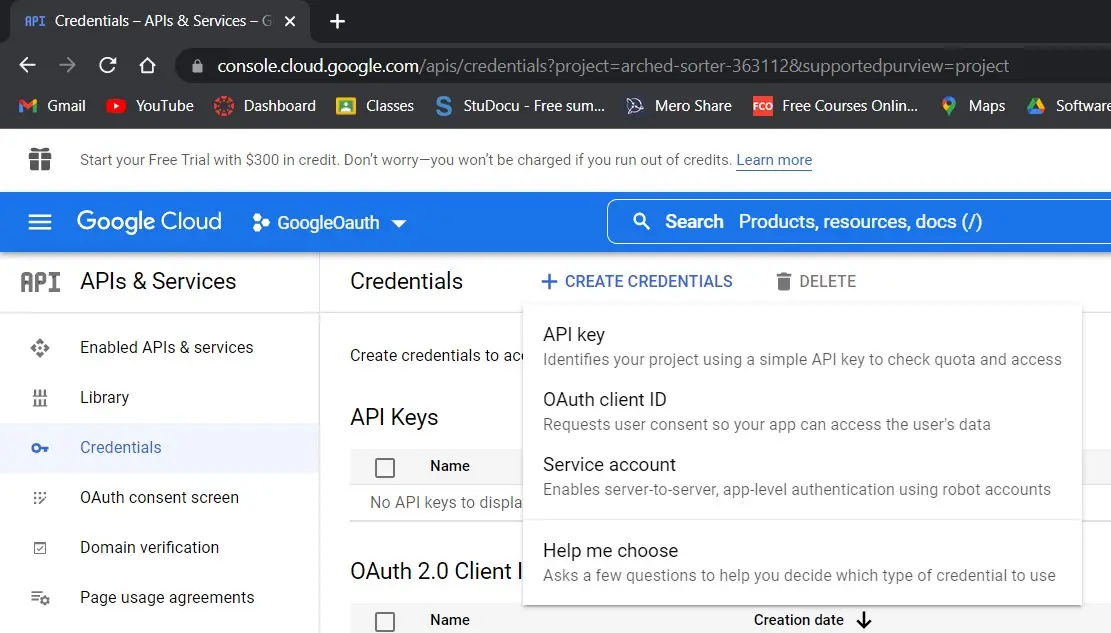
Select Credentials from the sidebar under "APIs & Services". On the Credentials tab, choose OAuth client ID and click "CREATE CREDENTIALS".
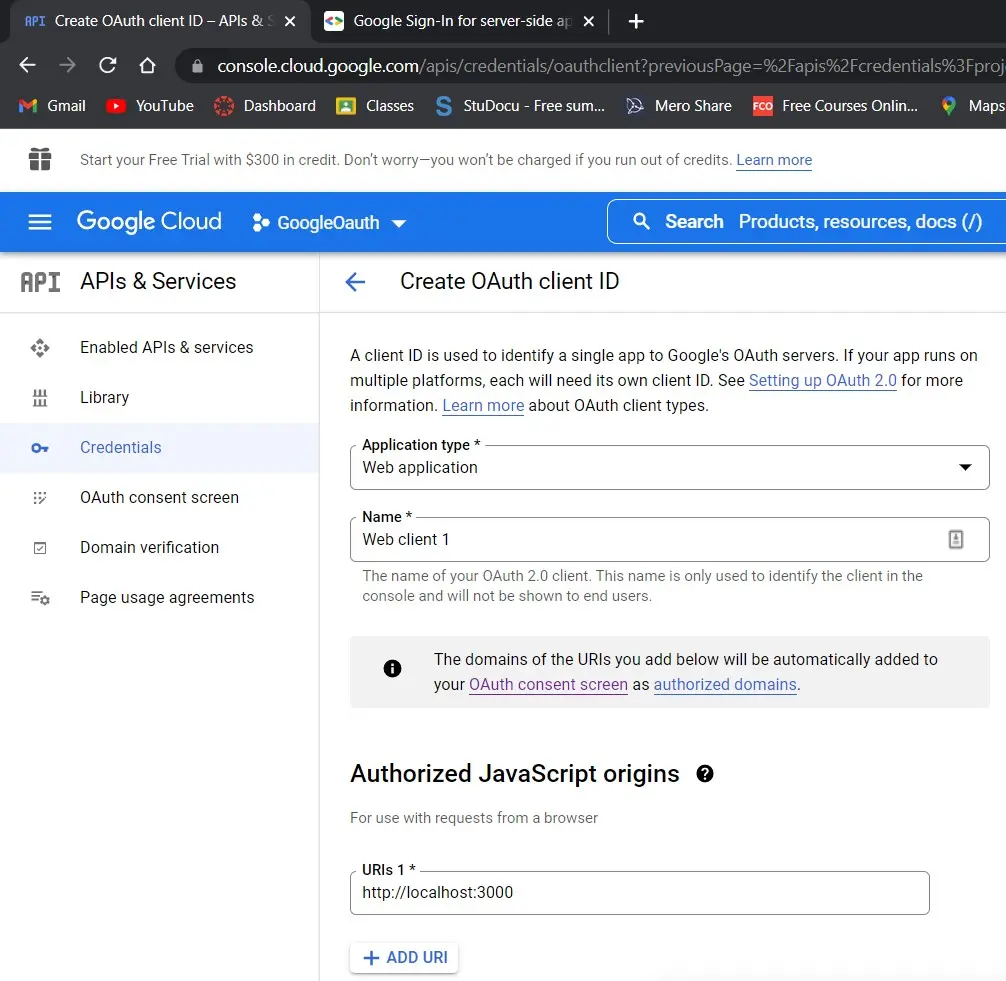
Next, supply the details required to access the user’s data. The approved redirect URI should refer to a server route. This will allow us to send the GET request to the server from the consent screen.
You may take other approaches, but I believe this method is faster.
After providing the required data, click on the "CREATE" button, and you should get the generated client ID and client secret.
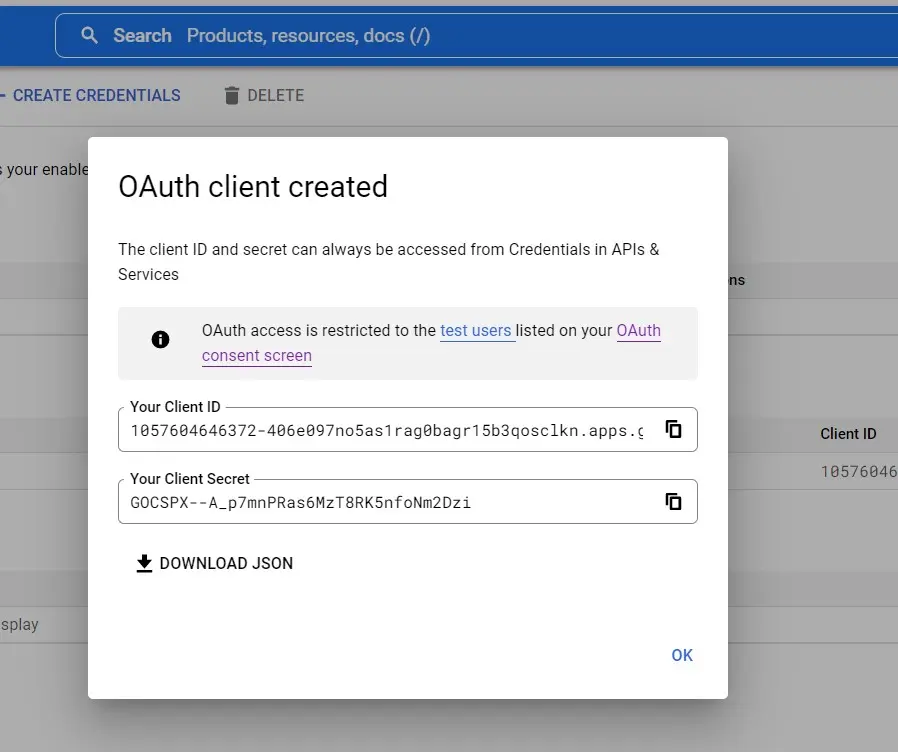
You can save the Client Id and Client secret in your notebook because we will implement them on our react application. Note that I have used different client IDs and client Secrets from the above screenshot.
Now let’s dive into React app, where we create a login and logout functionality using the Google Oauth2 Authentication.
First, generate the login code, which helps during the login function.
Code Example - login.js:
import {GoogleLogin} from 'react-google-login';

const clientId =
    '925694800644-urbtc7m556a52ba9vjhj7vevg2nir6vt.apps.googleusercontent.com';

function Login() {
  const onSuccess = (res) => {
    console.log('Login Success! current user: ', res.profileObj);
  };

  const onFailure = (res) => {
    console.log('Login Failed: res: ', res);
  };

  return (
    <div id='signInButton'>
      <GoogleLogin
  clientId = {clientId} buttonText = 'Login'
        onSuccess={onSuccess}
        onFailure={onFailure}
        cookiesPolicy={'single_host_origin'}
        isSignedIn={
    true}
      />
    </div>
  );
}

export default Login;
The client ID we generated can be used by making a variable called the google client ID. I created a login button in the following code imported from react-google-login.
We also developed a method that gives different information in the console. If the login was successful, send messages like Login Success!.
Code Example - logout.js:
import {GoogleLogout} from 'react-google-login';

const clientId =
    '925694800644-urbtc7m556a52ba9vjhj7vevg2nir6vt.apps.googleusercontent.com';

function Logout() {
  const onSuccess = () => {
    console.log('Log out successfully!');
  };

  return (
    <div id='signOutButton'>
      <GoogleLogout
        clientId={clientId}
        buttonText={'Logout'}
        onLogoutSuccess={
    onSuccess}
      />
    </div>
  );
}

export default Logout;
This is the same as like login page. We have imported Google Logout from react-google-login and made a variable of Google client ID.
Code Example - App.js:
import {gapi} from 'gapi-script';
import {useEffect} from 'react';

import LoginButton from './components/login';
import LogoutButton from './components/logout';

const clientId =
    '925694800644-urbtc7m556a52ba9vjhj7vevg2nir6vt.apps.googleusercontent.com';

function App() {
  useEffect(() => {
    function start() {
      gapi.client.init({
        clientId: clientId,
        scope: '',
      });
    }
    gapi.load('client:auth2', start);
  });

  return (
    <div className='App'>
      <LoginButton />
      <LogoutButton />
    </div>
  );
}

export default App;
In App.js, we have rendered our two pages, i.e., login.js and logout.js. The above code shows that the gapi keyword is used.
gapi is a google API client library for JavaScript which helps load oauth2 in react pages.
gapi.load('client:auth2', start);
It is usually called when the page is loaded. The ":" character is used to load multiple libraries.
It is used here to load both the client and auth2 libraries. When you run code, you will see something like the following.
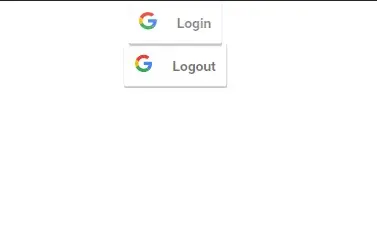
There are two buttons; Login and Logout. When you click on login, you will be allowed to select the google logged-in ID, and then you see some information in the console.

Similarly, when you click on Logout, you will be logged out and see some information in the console.

This way, we can use Google Oauth2 authorization to authenticate the user with the Google Login/Logout button in react.

Shiv is a self-driven and passionate Machine learning Learner who is innovative in application design, development, testing, and deployment and provides program requirements into sustainable advanced technical solutions through JavaScript, Python, and other programs for continuous improvement of AI technologies.
LinkedIn