How to Develop Python Applications in Qt Creator
Qt Creator is a cross-platform IDE that lets you create software for desktop, embedded and mobile devices. It runs on Linux, macOS, and Windows operating systems.
This tutorial will teach you to develop Python applications using the Qt Creator application.
Install Qt Creator Application
You can download Qt Creator from its official site. Then open the installer file and go through all the installation steps.
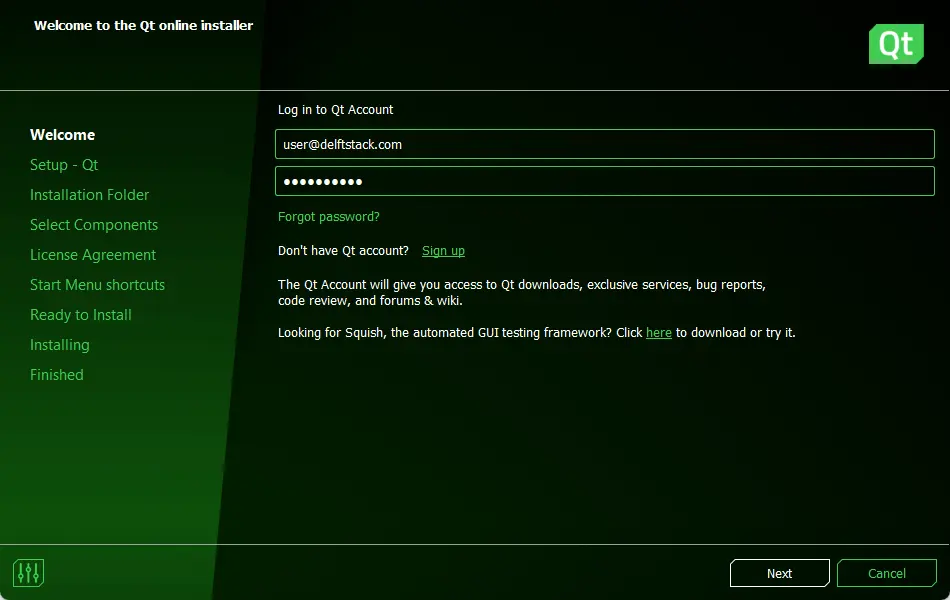
The initial step is to log in to the Qt account. If you don’t have an account, click Sign up and create a new Qt account.
Next, you will have to verify your email address.
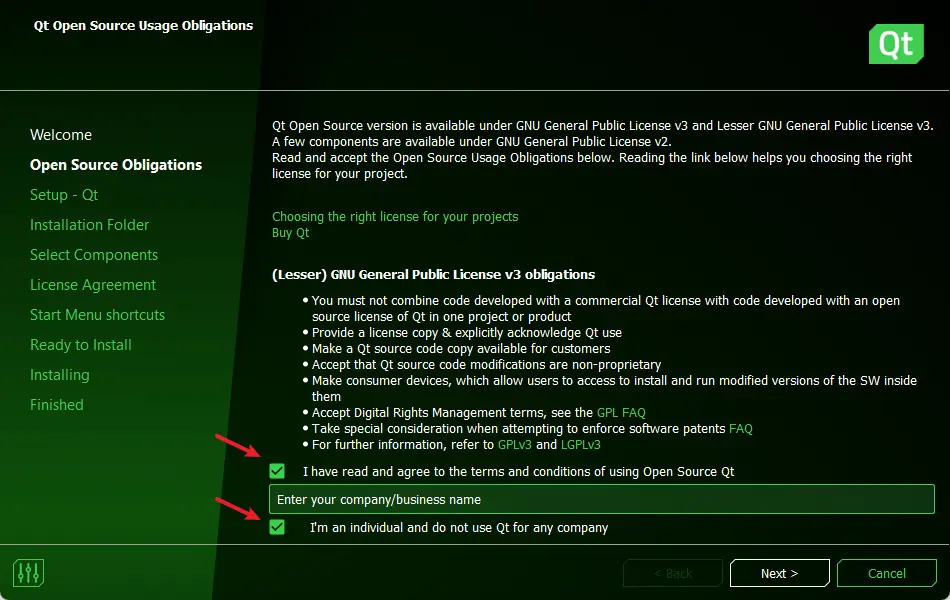
After logging in, check both boxes and click Next to continue the installation.
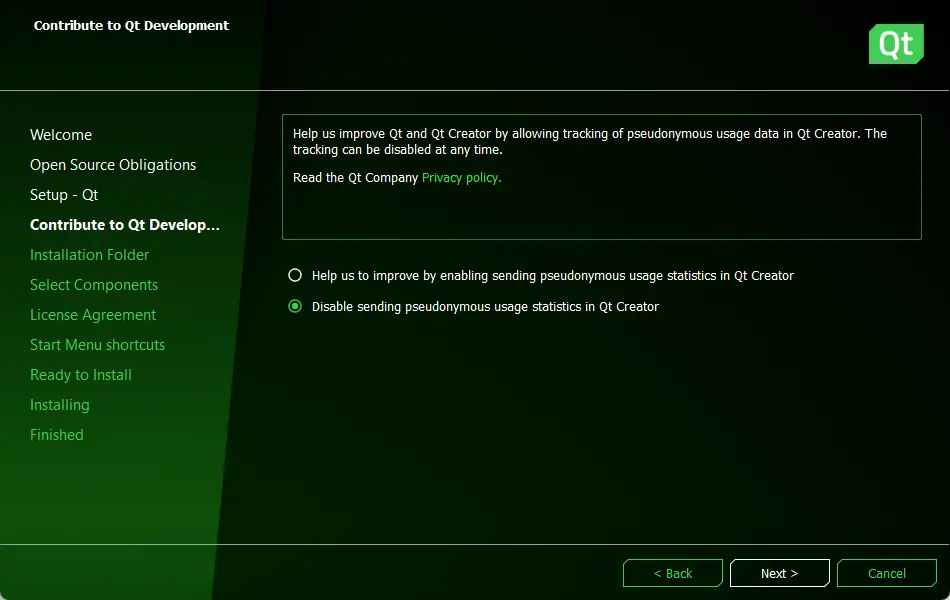
You can choose whether to allow tracking of pseudonymous usage statistics in Qt Creator.
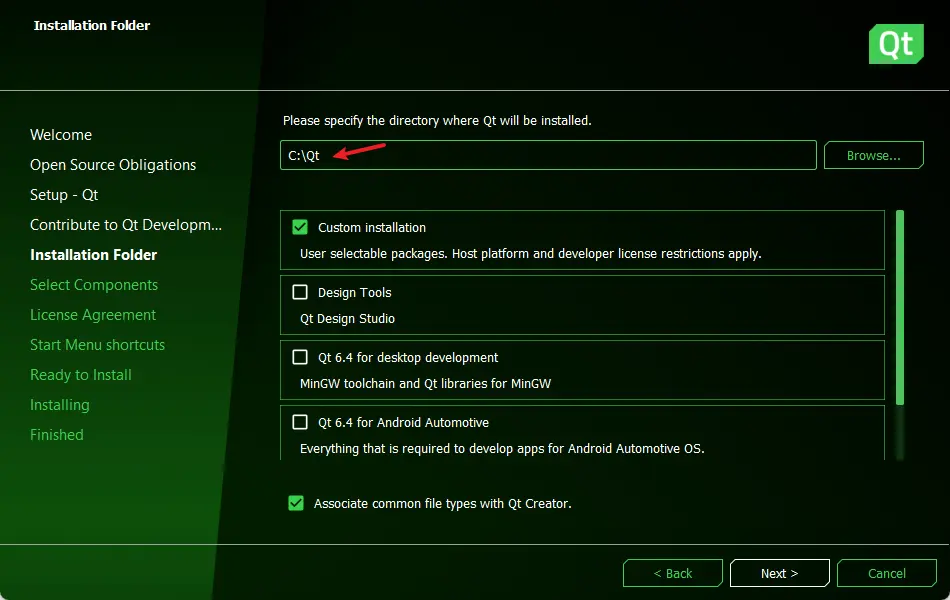
Then select the installation folder where you want to save the Qt Creator files.
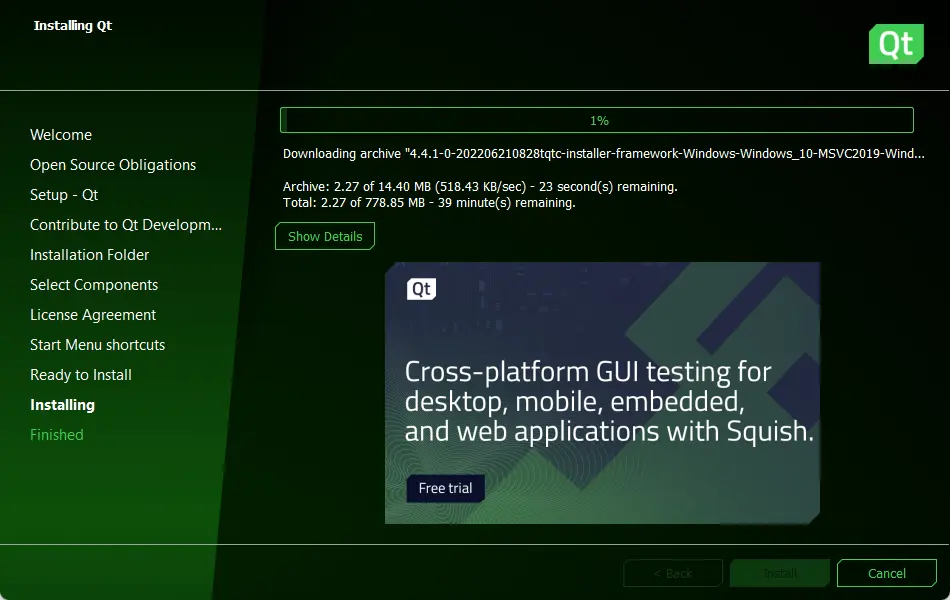
The installation time depends on your internet connection.
After the installation is successful, launch the Qt Creator application.

Develop Python Applications in Qt Creator
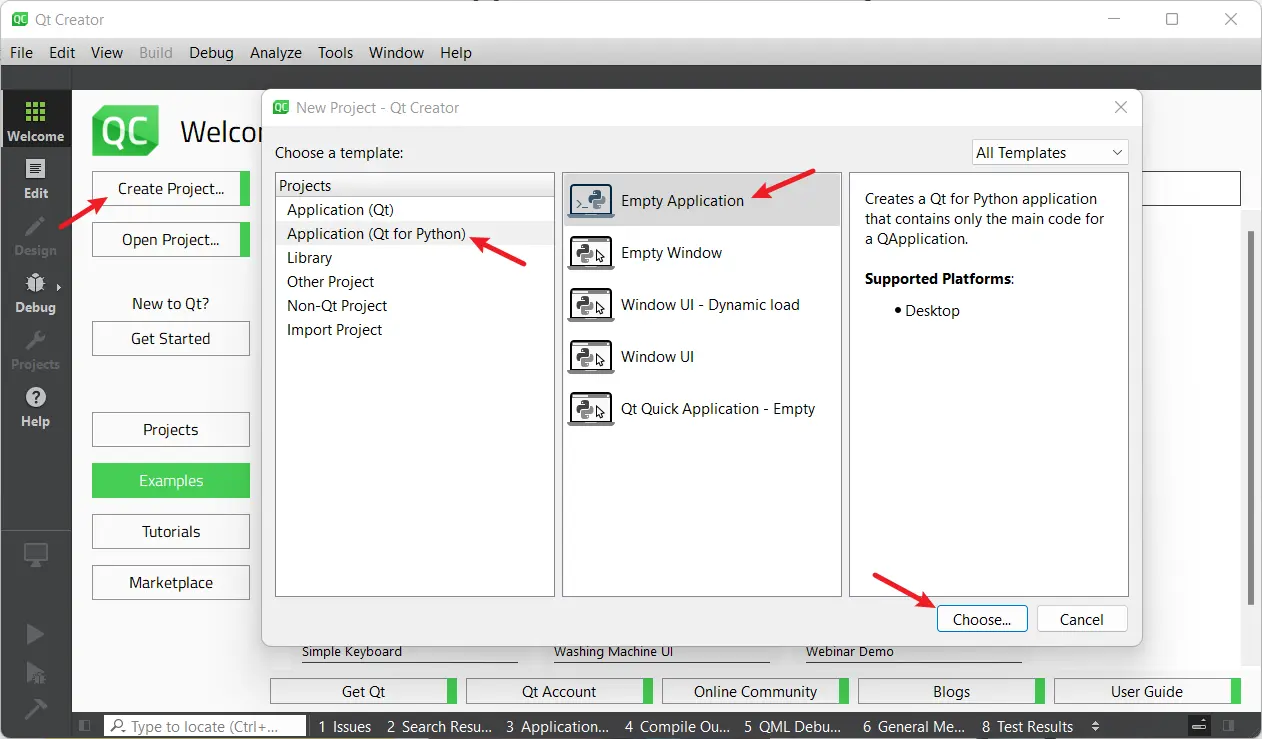
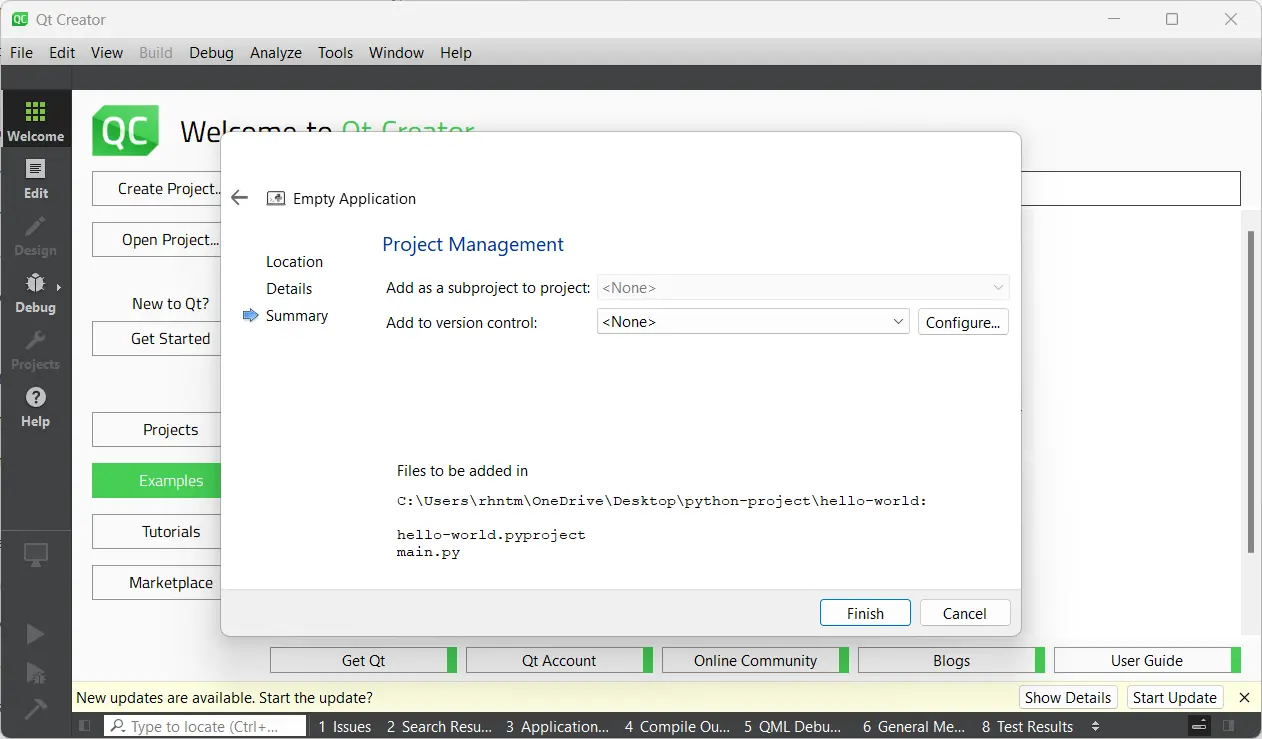
In Qt Creator, select Create Project > Application (Qt for Python) > Empty Application and hit the Choose button.
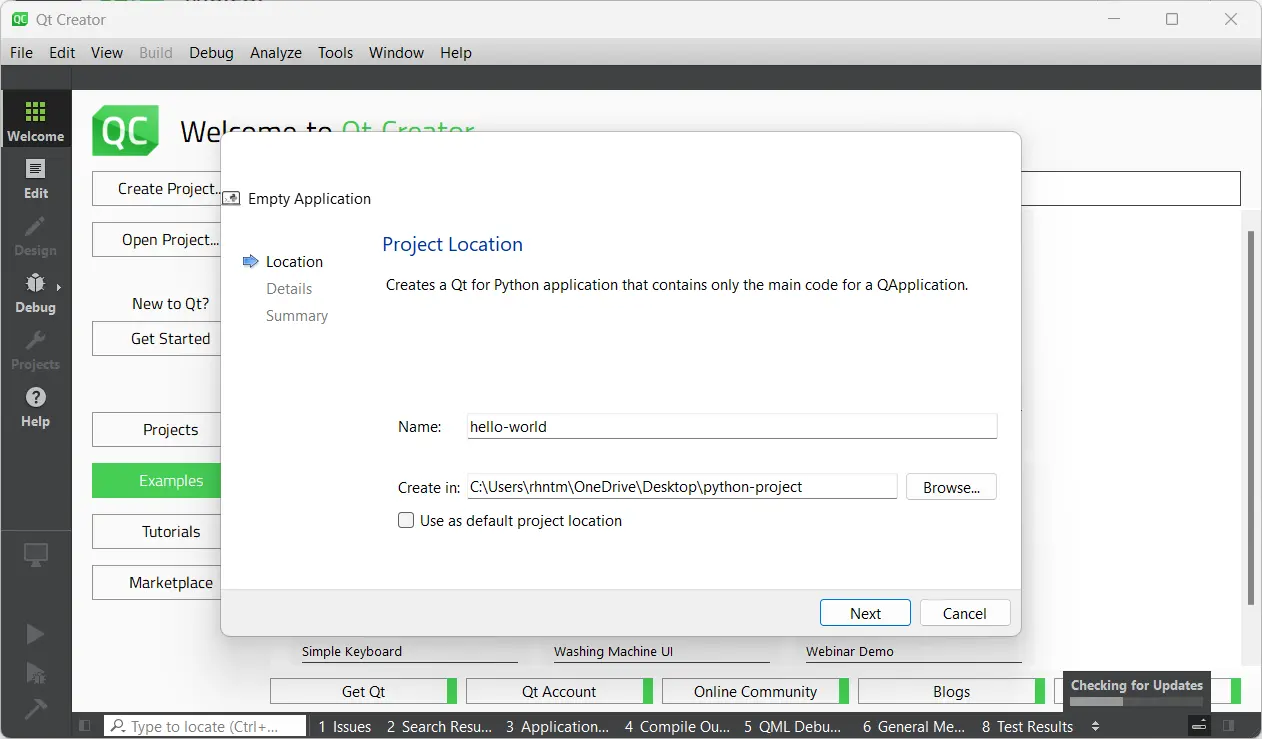
Next, enter the Python project’s name and location.
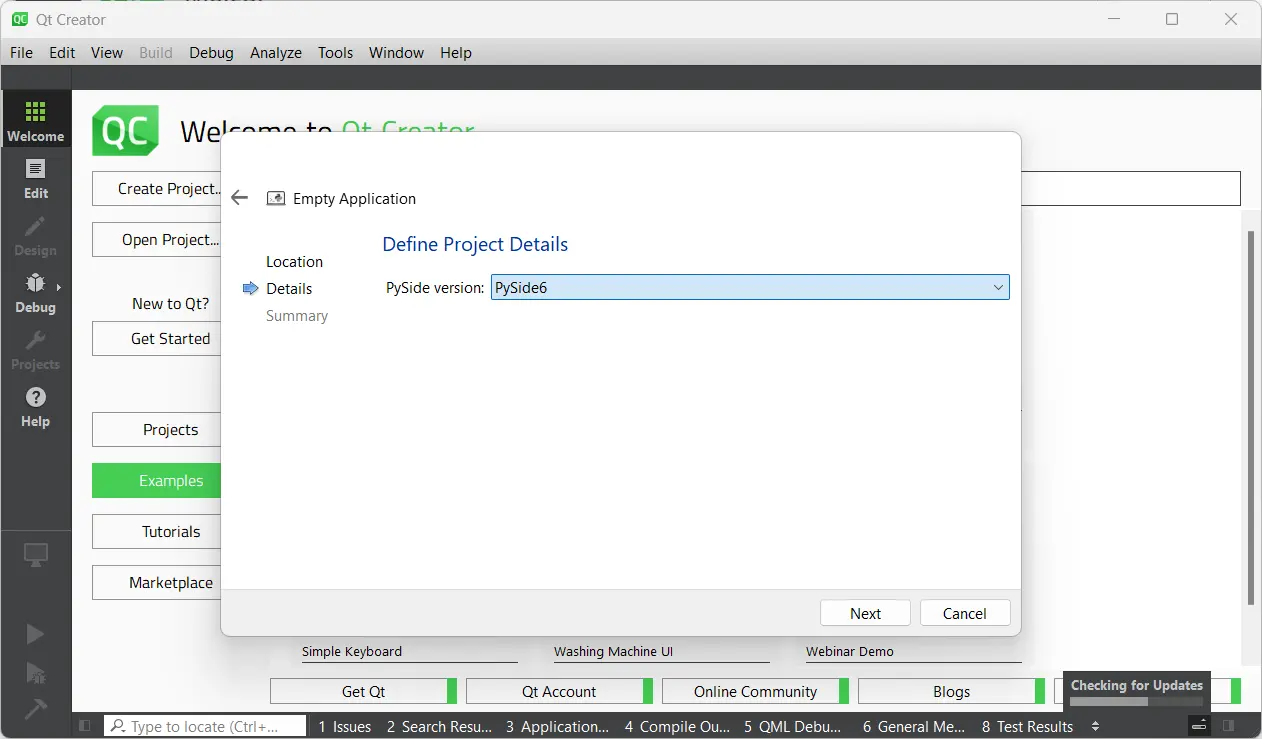
Then select the PySide version. PySide6 is available only for Python3.
You can add the version control (Git) if you need. Otherwise, leave it as None and click Finish to continue.
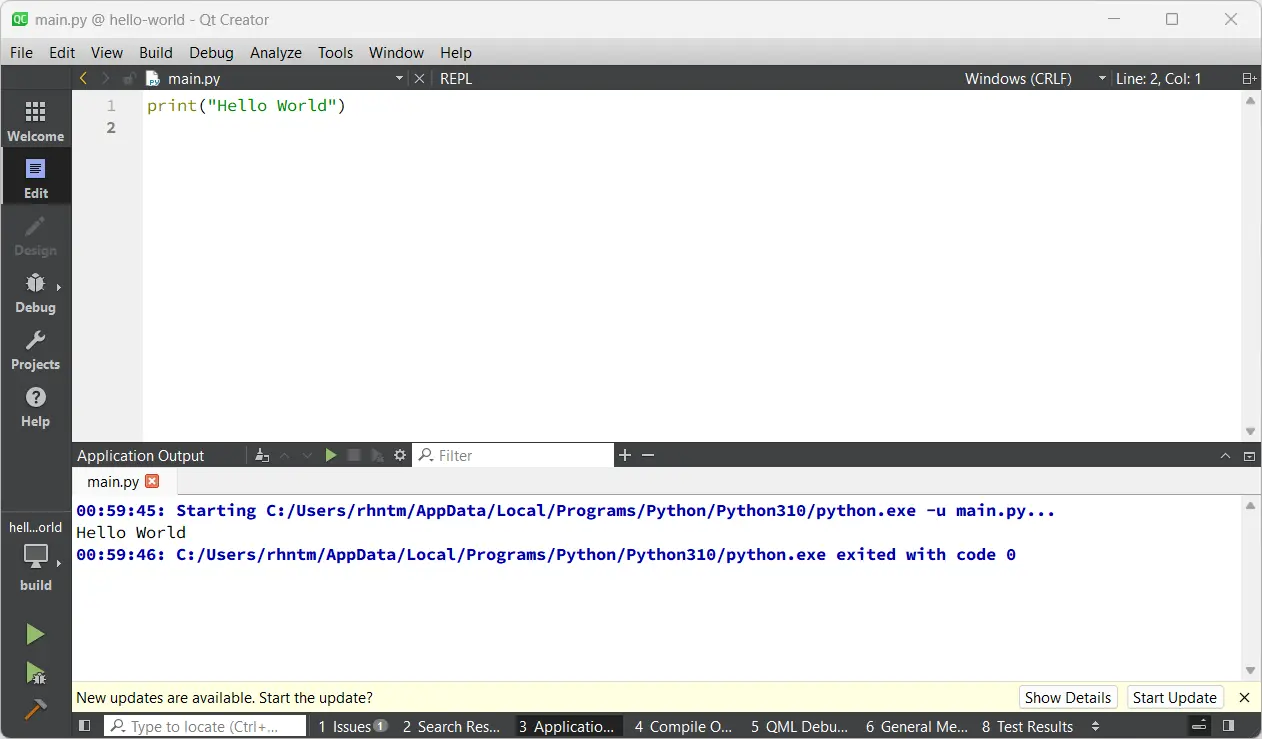
Write your Python script in the main.py file and run it to see the output. Here, we have used a simple Python program to print Hello World in Qt Creator.
Now you should know how to set up the Qt Creator application and run Python programs in Qt Creator. It is a powerful IDE that provides basic templates to create new projects.
Additionally, if you are looking to dive deeper into Python, you may find it useful to understand where Python is installed on your system. Check out Where Is Python Installed for more details.
We hope you find this tutorial helpful. You can find more information here.