Tkinter Rectangle

This demonstration will show how to create a rectangle using the canvas method in Tkinter.
Use the canvas Method to Create a Basic Example of Rectangle in Tkinter
Each rectangle is defined as (x1, y1) in the upper left corner and (x2, y2) in the pixel area in the lower right corner.
For example, the rectangle upper left corner (100,100) and the lower right corner (102,102) are squares of two pixels by two pixels, including pixels (101,101) but excluding (102,102). Canvas could be used to create multiple shapes.
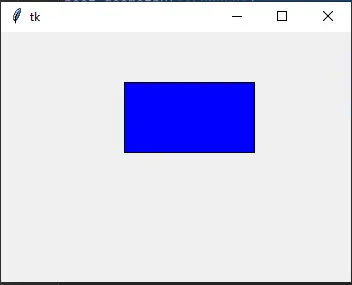
from tkinter import *

# Initialize a window
root = Tk()
root.geometry("350x250")
# Create an instance of a canvas
_canvas = Canvas(root, height=200, width=200)
_canvas.pack()
# create rectangle
_canvas.create_rectangle(50, 50, 180, 120, outline="black", fill="blue")
root.mainloop()
The Python Tkinter Canvas has built-in methods for creating objects or shapes. We shall use the create_rectangle() method to create a rectangle.
The create_rectangle() method accepts four points x1, y1, x2, y2. Here x1 and y1 are for the upper left corner, and x2 and y2 are for the lower right corner.
Tkinter Rectangle Options
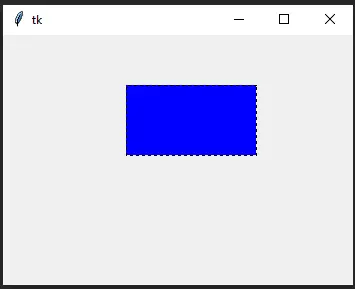
dash |
This option is a tuple of integers. The first number helps for creating pixels that will be drawn. The second number helps for skipping pixels that will be skipped before we start drawing again, and so on. When all the numbers in the tuple are finished, they are reused similarly until the border ends. |
# create dashed border
_canvas.create_rectangle(50, 50, 180, 120, outline="black", fill="blue", dash=(4, 6))
Now we can see where the borderline is created by 4 pixels after skipping 6 pixels.
state |
By default, the state option value is NORMAL when the rectangle is created. If the condition is set using the activefill option, this will be active when the mouse is over a rectangle. We could disable the status using state=DISABLED. |
_canvas.create_rectangle(50, 50, 180, 120, activefill="blue")
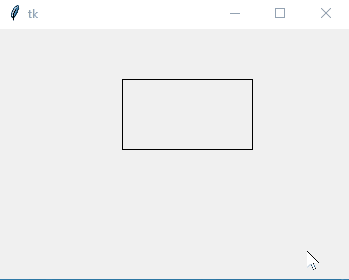
_canvas.create_rectangle(50, 50, 180, 120, state=DISABLED, activefill="blue")
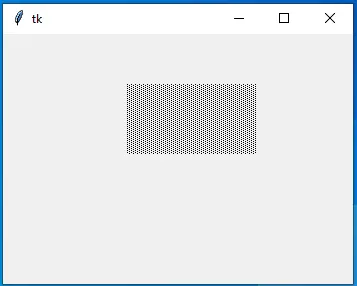
stipple |
The stipple option helps stipple the rectangle. By default, in stipple = '', which means solid color. Standard value can be stipple = 'gray25'. It has no effect unless the filling is set to a specific color. There are several values you can put there: 'gray50', 'gray25', 'error', 'gray75', 'gray12', 'hourglass', 'info', 'questhead', 'question', and 'warning'. |
# Create a pattern
_canvas.create_rectangle(50, 50, 180, 120, stipple="gray25", fill="black", outline="")
We can increase the width using the width option.
_canvas.create_rectangle(10, 10, 150, 100, fill="blue", width=5)
There are several options in the create_rectangle() method.

Hello! I am Salman Bin Mehmood(Baum), a software developer and I help organizations, address complex problems. My expertise lies within back-end, data science and machine learning. I am a lifelong learner, currently working on metaverse, and enrolled in a course building an AI application with python. I love solving problems and developing bug-free software for people. I write content related to python and hot Technologies.
LinkedIn