How to Connect MySQL Database in Flask
We will learn, with this explanation, how to connect a MySQL database in Flask with the help of flask_mysqldb. We will also learn how to set up a database online.
Connect MySQL Database in Flask With the Help of the flask_mysqldb
Sometimes users want to write queries directly in SQL instead of using something like sql-alchemy, so whatever the reason, you have the option to write the queries SQL. In Flask, mysqldb allows you to do this.
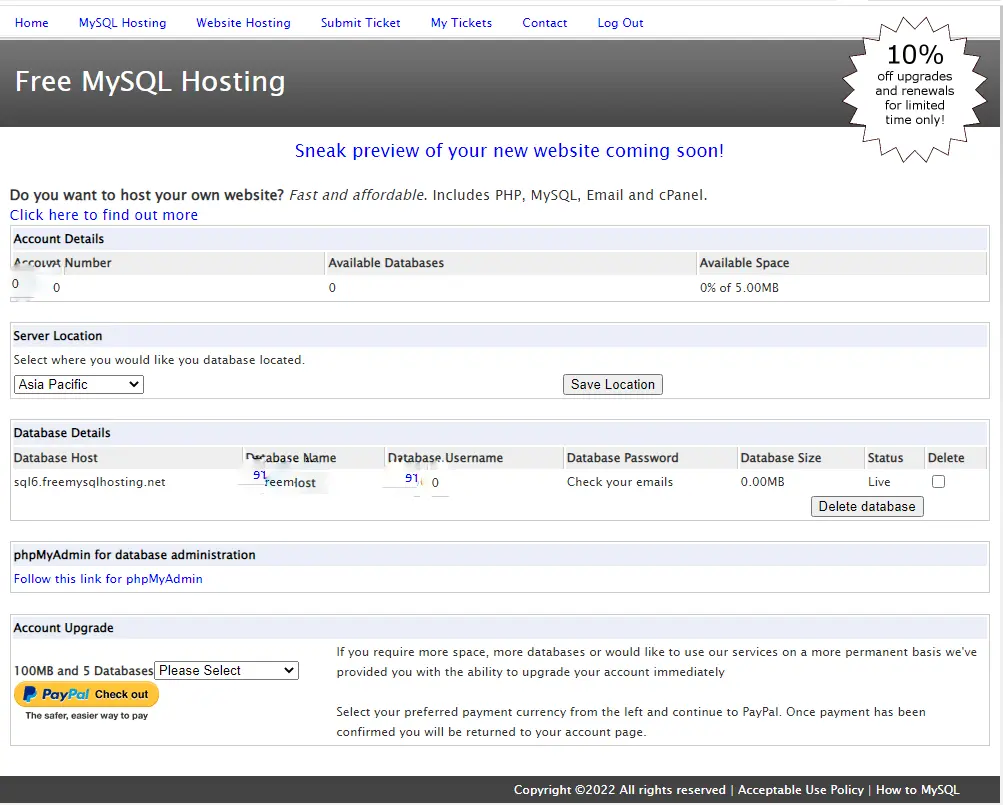
Now we will create a free MySQL database on the service called freemysqlhosting.net. You can visit the website using this link.
After creating your account, you will get a screen as shown below, and when you make a database, you will receive an email with your database information within 15 minutes.
Now we will be using this database for information inside our Flask app. The first thing we will do is to install a module called Flask-MySQLdb.
pip install Flask-MySQLdb
Now we will need to import the required libraries:
from flask import Flask
from flask_mysqldb import MySQL
Now we will create an app instance and instantiate this app using the MySQL(app) class. You can also use the following code to specify your Flask app if you are working with multiple flask apps:
mysql = MySQL()
mysql.init_app(app)
But we have everything in one file, so we do not need to do this. And since we are working with a database, we will need to set up the configuration.
First, we will need to define the MYSQL_USER, and then we need the MYSQL_PASSWORD. We also need to define MYSQL_HOST where the database is located; it can be on your local machine or a separate service like we have set up already or anywhere else.
We also have the database itself, so we have to define the name of the database. We will put extra configuration that is not necessarily needed, which is helpful to get the returned data.
It takes just tuples, but dictionaries are a little bit easier to work with when it comes to databases because the columns can be a key, and the value of those keys will be the value in a particular column. If we do not add anything, it takes the tuple by default.
app.config["MYSQL_USER"] = "user_name"
app.config["MYSQL_PASSWORD"] = "user_password"
app.config["MYSQL_HOST"] = "sql3.example.net"
app.config["MYSQL_DB"] = "Database_name"
app.config["MYSQL_CURSORCLASS"] = "DictCursor"

mysql = MySQL(app)
You can put the port, but the MySQL database, by default, uses 3306, so we do not need to update anything. Now we want to interact with the database, so we will create the route and create a function called CONNECT_DB(), and to interact with the database, we need to use a cursor.
The cursor will allow us to execute statements to get the results of those statements. We will create a variable called CS and instantiate it using mysql.connection.cursor(), and we will also create a table and call it TABLE_NAME, and we will define a couple of columns.
@app.route("/")
def CONNECT_DB():
    CS = mysql.connection.cursor()
    CS.execute("""CREATE TABLE TABLE_NAME (id INTEGER, name VARCHAR(20))""")
We have already created the table and will insert data into the table. Then, we need to commit after inserting data or updating or deleting.
We will also return a string when the data is inserted into the database.
CS.execute("""INSERT INTO TABLE_NAME VALUES (1, 'Harry')""")
CS.execute("""INSERT INTO TABLE_NAME VALUES (2, 'Arthor')""")
mysql.connection.commit()
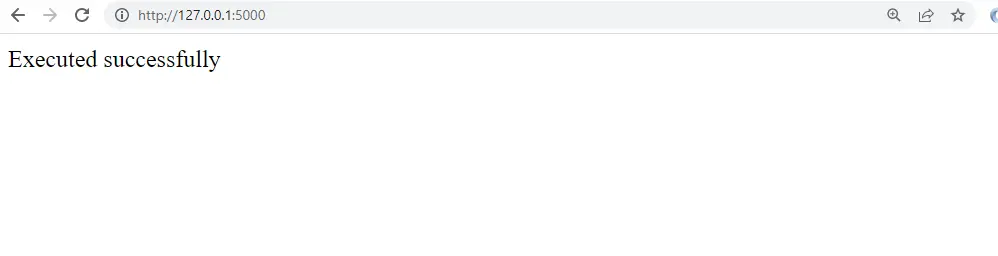
return "Executed successfully"
Let’s go ahead and run the server and see if the string is returned on the browser. Make sure your internet connection is connected.
We will need to verify that the data is inserted into the database. Now will make a query to select the table.
Since we will be retrieving multiple rows, we can use fetchall(). We will put all of our information into the Executed_DATA variable.
We will print this to the console and display the returned value:
CS.execute("""SELECT * FROM TABLE_NAME""")
Executed_DATA = CS.fetchall()
print(Executed_DATA)
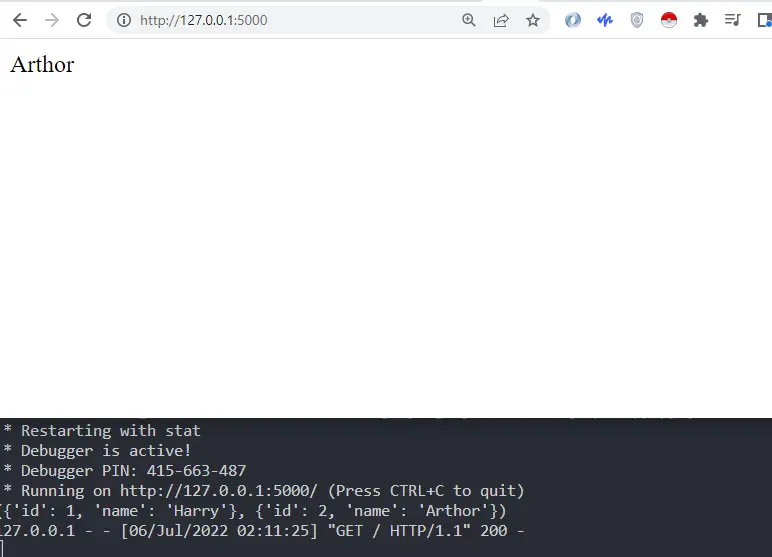
return str(Executed_DATA[1]["name"])
Let’s save and refresh the page. We can see the value displayed, and if we look down here in the console, we can see a tuple with two items.
Complete Python Code:
from flask import Flask
from flask_mysqldb import MySQL

app = Flask(__name__)

app.config["MYSQL_USER"] = "user_name"
app.config["MYSQL_PASSWORD"] = "user_password"
app.config["MYSQL_HOST"] = "sql3.example.net"
app.config["MYSQL_DB"] = "Database_name"
app.config["MYSQL_CURSORCLASS"] = "DictCursor"

mysql = MySQL(app)

# mysql.init_app(app)


@app.route("/")
def CONNECT_DB():
    CS = mysql.connection.cursor()
    # CS.execute('''CREATE TABLE TABLE_NAME (id INTEGER, name VARCHAR(20))''')

    # CS.execute('''INSERT INTO TABLE_NAME VALUES (1, 'Harry')''')
    # CS.execute('''INSERT INTO TABLE_NAME VALUES (2, 'Arthor')''')
    # mysql.connection.commit()
    # return 'Executed successfully'

    CS.execute("""SELECT * FROM TABLE_NAME""")
    Executed_DATA = CS.fetchall()
    print(Executed_DATA)
    return str(Executed_DATA[1]["name"])


if __name__ == "__main__":
    app.run(debug=True)

Hello! I am Salman Bin Mehmood(Baum), a software developer and I help organizations, address complex problems. My expertise lies within back-end, data science and machine learning. I am a lifelong learner, currently working on metaverse, and enrolled in a course building an AI application with python. I love solving problems and developing bug-free software for people. I write content related to python and hot Technologies.
LinkedIn