How to Convert Blob Data Into the Text Format in MySQL
-
the
BLOBDatatype in MySQL - Create a Database in MySQL
-
Use the
CONVERT()Function to Convert Blob Data Into Text in MySQL -
Use the
CAST()Function to Convert Blob Data Into Text in MySQL
This article will focus on the BLOB datatype in MySQL databases. We will learn about the BLOB datatype in-depth and discuss its various types.
Later in the article, we’ll review different ways of converting data from the blob field into a non-binary format.
the BLOB Datatype in MySQL
Large binary objects (BLOB) can contain a variable range of information. It is a kind of data type in MySQL that provides binary storage of files or images.
There are four different kinds: TINYBLOB, BLOB, MEDIUMBLOB, and LONGBLOB.
The main distinction between the four categories is the volume of data they can store. LONGBLOB, as the name implies, can hold the most data, while TINYBLOB can have the least.
BLOB values are handled like binary strings (byte strings). They have a binary character set, collation, and comparison and sorting are done with the help of the numerical values of the bytes in the column values.
TINYBLOBcan store a maximum of 255 bytes.BLOBcan store a maximum of 65535 bytes, i.e., 64 KB of data.- A
MEDIUMBLOBcan store a maximum of 16777215 bytes, i.e., 16 MB of data. - A
LONGBLOBcan store a maximum of 4294967295 bytes, i.e., 4 GB of data.
Create a Database in MySQL
Let’s start by creating a database in MYSQL. We will use MySQL Shell throughout this article to interact with the database.
Stay focused and follow the steps to understand it clearly.
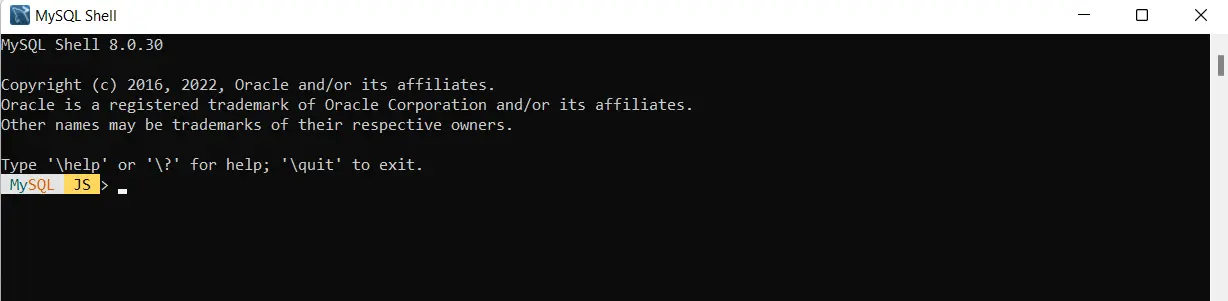
This screen appears the first time we launch the MySQL Shell. You may have noticed that JS is written with MySQL, which indicates that this is currently in JavaScript processing mode.
Since we wish to run SQL statements, we must first switch to SQL mode before executing the commands.
To do this, type \sql and press Enter.
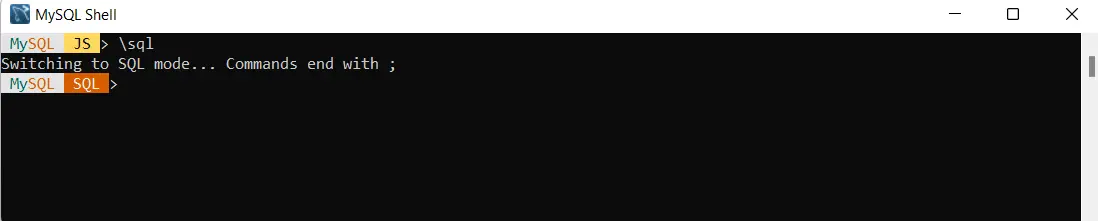
Now the SQL mode is activated. Now we need to connect the Shell with the MySQL Server, and then we can write and execute the SQL commands.
For connection, we write \connect root@localhost and press Enter. Here, root is the user name you set while installing the MySQL Shell.
After pressing Enter, it’ll ask you for the password you put in during the installation. Type the password, and your connection will be active.
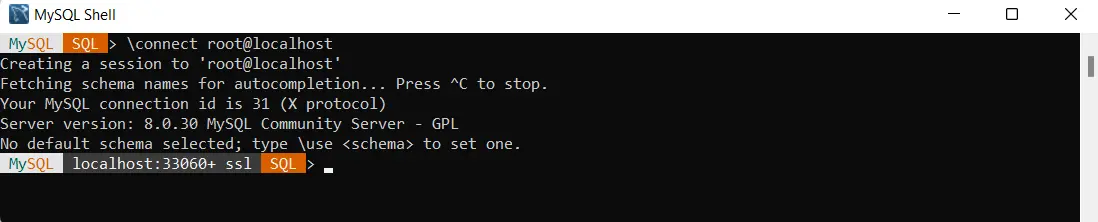
Observe the message that is written on the console. It indicates that no database has been chosen.
Let’s create one to use. To create a database, write create database tech, where tech is the database name.
You are free to use whatever name you choose. We must specify which database Shell should use after creating the database.
To select a database, enter the command: use tech.

Now you can see that tech is written before SQL, meaning we are currently in the tech database and can execute the queries on it directly.
Let’s create a table in the tech database with some fields of the BLOB datatype. To create a table, type the following command in the Shell:
CREATE TABLE BLOB_DEMO
(
    FIRST_NAME VARCHAR(20),
    LAST_NAME VARCHAR(20),
    AGE INT,
    DESCRIPTION BLOB
);
The table will be created. We have specified the data type of the Description field as a BLOB.
As we work in the MySQL Shell, we will observe the behavior of the BLOB datatype by inserting some text into it. To insert the data into the table, type the following command in the Shell.
INSERT INTO BLOB_DEMO VALUES
(
    "WILLIAM",
    "JOHN",
    27,
    "William John is a computer scientist."
),
(
    "BEN",
    "MARK",
    32,
    "Ben is a doctor. He lives in America."
);
The data is now inserted into the table. Let’s fetch all the rows from the table.
To retrieve all the data from the table, write the following command in the Shell:
SELECT * FROM BLOB_DEMO
Output:
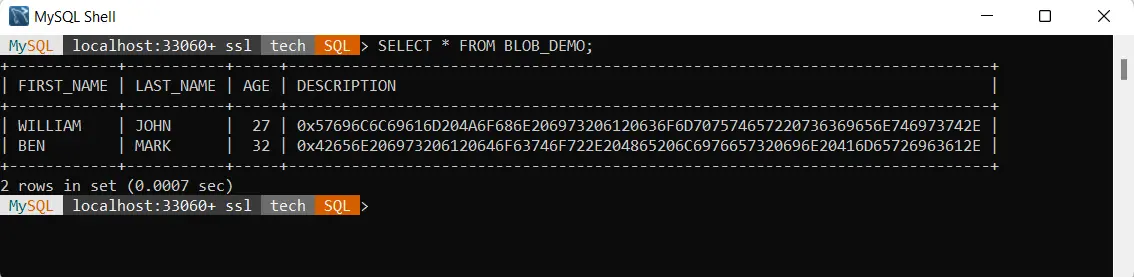
Observe the DESCRIPTION column. As we discussed above, the behavior of the BLOB datatype is that it handles the data like binary strings, and what we see here is the binary encoded data.
Now, the point of focus is how we can retrieve our actual readable data in text or non-binary format. MySQL has provided us with two methods for doing this task.
Let’s see them in detail below.
Use the CONVERT() Function to Convert Blob Data Into Text in MySQL
MySQL provides a CONVERT() function that casts a value as a specific type. It converts data between different character sets.
The syntax for the CONVERT() function is:
CONVERT(expr USING transcoding_name)
```.
If `expr` is NULL, the function returns NULL.

Type the following command in the Shell to get the data of the description field in the non-binary format.

```sql
SELECT CONVERT(DESCRIPTION USING UTF8) FROM BLOB_DEMO
Output:
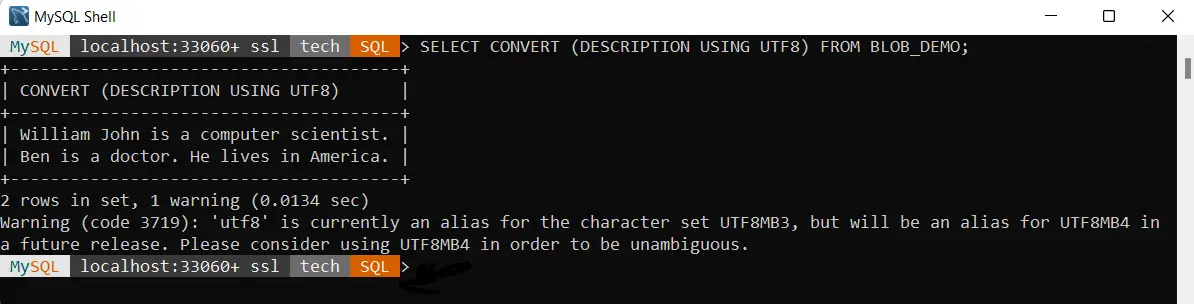
One noticeable point here is the warning given by the Shell. In the future release, UTF8 will be an alias of the UTFMB4.
It is good to use UTFMB4 to be unambiguous.
Use the CAST() Function to Convert Blob Data Into Text in MySQL
MySQL provides us with another function named CAST() that casts a value as a specific type.
The syntax for the CAST() function is:
CAST(expression as type)
The CAST() function converts any expression into a value of the desired type.
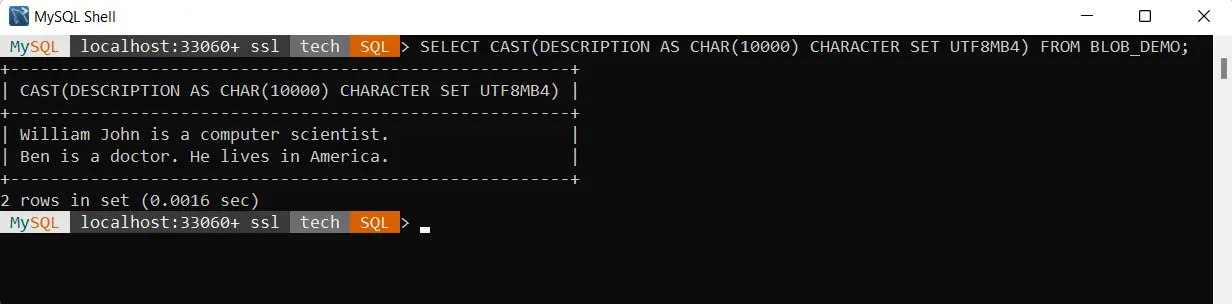
To get the data from the description field in a non-binary format, enter the following command in the Shell:
SELECT CAST(DESCRIPTION AS CHAR(10000) CHARACTER SET UTFMB4) FROM BLOB_DEMO
Output: