How to Secure MongoDB With Username and Password
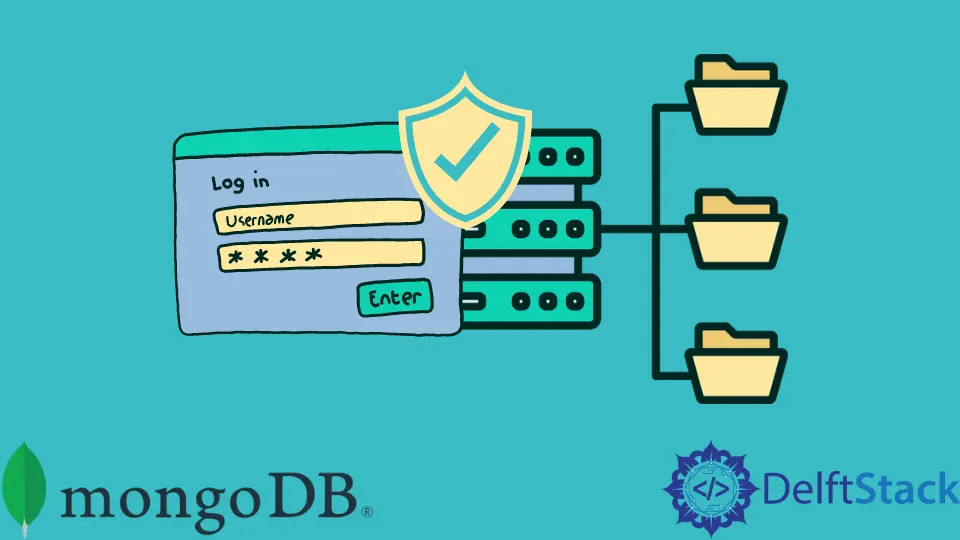
This MongoDB article will teach you how to properly configure the most fundamental security feature: securing MongoDB with a username and password by creating an authentication user while remotely accessing MongoDB.
As you know, MongoDB is described as a NoSQL database, and it does not follow any relational DB structure; instead, it stores data in JSON documents.
When you install MongoDB, MongoDB remote connection security does not have any authentication enabled, which means anyone with your HOST IP can quickly access your MongoDB services and perform CRUD operations without any MongoDB authentication, which is not a secure way to integrate the mongod database globally.
Furthermore, no authentication means inviting everyone to enter your databases, seizing everything, and potentially ransom you for your data.
This MongoDB article will cover how to secure MongoDB authentication so that only the user with MongoDB authentication credentials can access the databases.
The topics covered in this MongoDB article are:
-
Enabling security authentication on MongoDB
- Start MongoDB without authentication
- Connect to the server using the MongoDB shell
- Create the user administrator
- Enable authentication in the
mongodconfiguration file - Connect and authenticate as the user administrator
- Create additional users
Enable Security Authentication on MongoDB
This MongoDB article only applies to self-managed MongoDB servers. All MongoDB as a Service providers already enables authentication preemptively.
Start MongoDB Without Authentication
Open a shell and run the MongoDB client. That is easy as this is the default behavior for MongoDB.
$ mongo
Connect to the Server Using the MongoDB Shell
$ mongo mongodb://<host>:<port>
The port number will likely be 27017, but you can always change it to a different one for additional security.
Create the User Administrator
Change to the admin database:
> use admin
You will need to create a user with the userAdminAnyDatabase role, which allows you to create other users on any existing database. The following example will create the admin123 user with the password pass123.
> db.createUser(
  {
    user: "admin123",
    pwd: "pass123",
    roles: [ { role: "userAdminAnyDatabase", db: "admin" } ]
  }
)
Then disconnect from the mongo shell using Ctrl+D.
Enable Authentication in the mongod Configuration File
Edit mongod.conf with your preferred editor and enable authorization.
$ sudo vi /etc/mongod.conf
Open /etc/mongod.conf with any code editor and search for the following lines.
security:
    authorization: "disabled"
In the security section, remove any #, change authorization to enabled or add it if it’s missing. It should look like this:
security:
  authorization: "enabled"
If you cannot find mongod.conf or it is named mongodb.conf instead, you are using an outdated and broken version of MongoDB.
In this case, you probably need to consider upgrading to a more recent version of MongoDB. But, if you don’t care, do this:
$ sudo vi /etc/mongodb.conf
Look for auth, remove # and ensure it is set to true. It should look like this:
auth = true
After changing disabled to enabled, you will need to save the file and restart mongod.
$ sudo service mongodb restart
All clients connecting to this server will have to authenticate themselves as valid users, and they will only be able to perform actions as determined by their assigned roles.
Connect and Authenticate as the User Administrator
$ mongo mongodb://<host>:<port>> db.auth("admin123", "pass123")
1
The user can also connect and authenticate in one single step with mongo mongodb://superadmin:thepianohasbeendrinking@<host>:<port>. Still, this option isn’t advised because it will leave your credentials visible in your terminal history, which any program on your computer can read.
Create Additional Users
The following operation adds a user admin456 to the test database who has readWrite role in the test database.
> use test
> db.createUser(
  {
    user: "admin456",
    pwd: "xyz123",
    roles: [ { role: "readWrite", db: "test" } ]
  }
)
Press Enter, then mongo will reply with Successfully added user: …. Then type exit or use CTRL+C.