Blob in JavaScript
- Blob in JavaScript
- Advantages of Blob in JavaScript
- Blob to Base64
- Blob to Image
- Blob to Array Buffer
In this article, we will learn about the Blob object and see how it works in JavaScript source code. Using an example, we will see how a Blob holds the file data in JavaScript.
Blob in JavaScript
In JavaScript, we use Blob to hold the data as an object stored in a file. It simply holds the data in a group of bytes and has its own size like a simple file.
Depending on the Blob size and browser features, the Blob data is stored in memory and file system. We can easily read the Blob’s content as an array buffer which makes Blob more appropriate to store the data in binary form.
To display the contents of a Blob, we can easily use Blob as a URL for <a>, <img>, or other element tags in HTML.
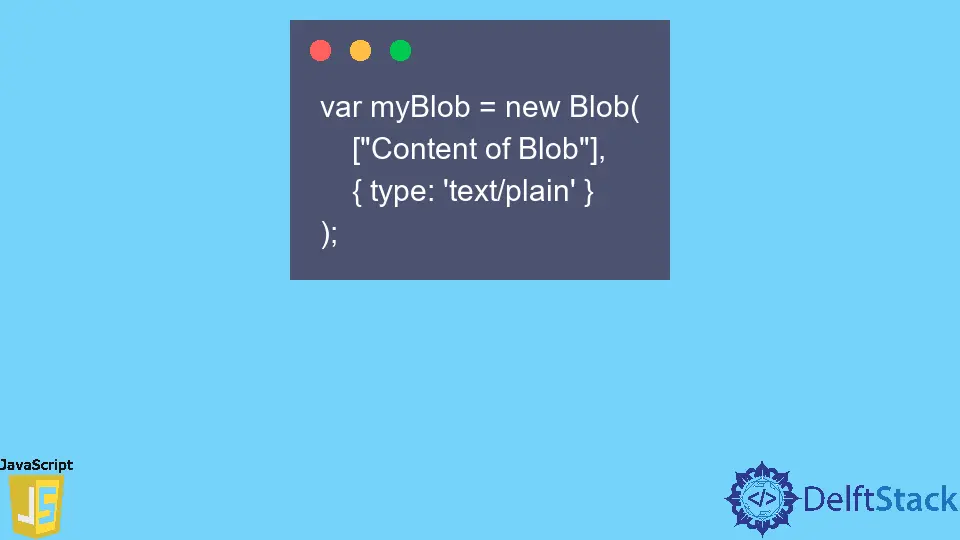
Here is the basic syntax of the Blob object in JavaScript:
var myBlob = new Blob(['Content of Blob'], {type: 'text/plain'});
Example Code:
A Blob can be obtained using the createObjectURL() object, to which the Blob URL points.
<!DOCTYPE html>
<html>
<head>
    <title>
        JavaScript Blob
    </title>
</head>
<body>
     <script>
        let blobContent = new Blob(["DelftStack is a best website to learn programming!"],
                { type: 'text/plain' }); //blob file content and type
         link.href = URL.createObjectURL(blobContent);
    </script>

    <h1 style="color:blueviolet">DelftStack Learning</h1>
    <h3>JavaScript Create Blob Object and Download File</h3>

    <p>Click on link to to download the file</p>
    <a download="dummyFile.txt" href='#' id="link">Download File</a> //file name
</body>
</html>
Output:

As shown above in HTML source, we have created Blob object blobContent in the <script></script> tags. We have defined the content and content type of our file.
Using createObjectURL() we have obtained a blobContent as a URL and link with href. We used anchor tags with #href='#' and id=link to download the file dummy.txt.
You can save the above source with the extension of HTML and open it in the browser, then click the download file link and see the downloads. There will be a text file, dummyFile.txt.
Advantages of Blob in JavaScript
Below are some advantages of using a Blob object in JavaScript:
- Blobs can be easily referenced.
- To add larger binary data files to a database, Blobs are the best option for adding large binary data files.
- We can easily set access rights while using Blobs.
- Backup of databases contains all the data while using Blobs.
Blob to Base64
It is useful to convert JavaScript file objects or Blobs to Base64 strings while uploading string-based data to the server. We can use JavaScript to convert a Base64 string and a DataURL from a file object.
We can convert Blob to Base64 encoded string, and that encoding represents binary data as a string. And we can use this encoding in data-urls.
Basic Syntax:
const convertBlobToBase64 = async (blob) => {  // blob data
  const reader = new FileReader();
  let result = reader.readAsDataURL(blob);
}
Blob to Image
Using JavaScript, we can create a Blob of an image or an image part. We use the canvas element to do image operations like creating an image or its parts.
Basic Syntax:
let myblob =
    await new Promise(resolve => canvasElem.toBlob(resolve, 'image/png'));
Blob to Array Buffer
Including any buffer source, the Blob constructor allows generating a Blob from anything. We can generate the lowest level array buffer from Blob using blob.arrayBuffer().
Basic Syntax:
const mybufferPromise = await myblob.arrayBuffer();