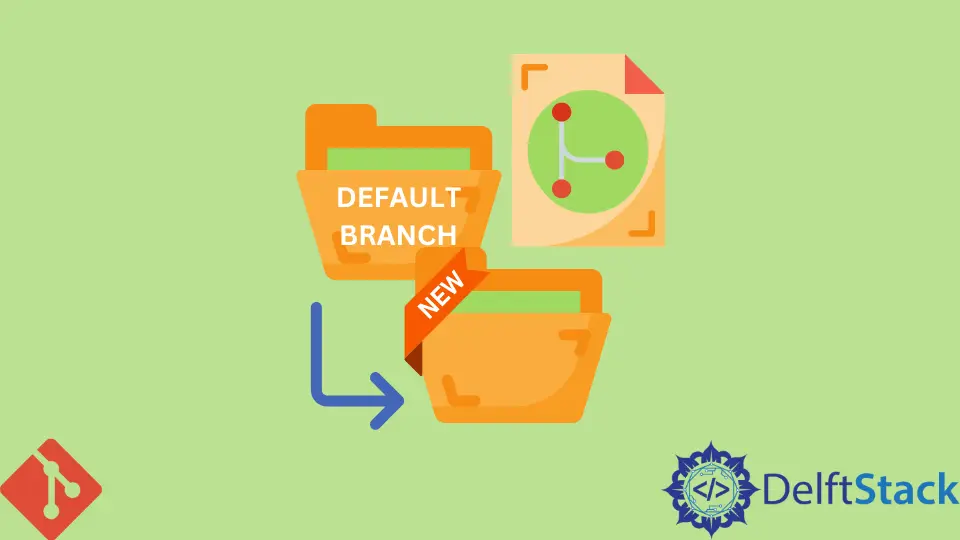
How to Change Default Branch in Gitlab
- Understanding Default Branch in GitLab
- Method 1: Changing the Default Branch via GitLab UI
- Method 2: Changing the Default Branch Using Git Commands
- Method 3: Using GitLab API to Change Default Branch
- Conclusion
- FAQ
Changing the default branch in GitLab is a crucial task that can enhance your workflow and improve collaboration among team members. The default branch is typically the main branch where the stable version of your project resides, and it serves as the starting point for new feature branches.
In this tutorial, we’ll walk you through the steps to change the default branch in GitLab, ensuring you understand why and how to do it effectively. Whether you’re managing a personal project or collaborating with a team, knowing how to adjust the default branch can streamline your development process. Let’s dive in!
Understanding Default Branch in GitLab
Before we jump into the steps, it’s important to understand what a default branch is. In GitLab, the default branch acts as the main line of development. When you create a new merge request or clone a repository, GitLab uses the default branch as the base. By default, this branch is usually named “master” or “main,” but you may want to switch it to a different branch depending on your project needs.
Changing the default branch can be particularly useful if you’re transitioning from one primary branch to another, or if you have a new stable branch that you want to use for ongoing development. Now, let’s explore how to make this change in GitLab.
Method 1: Changing the Default Branch via GitLab UI
The simplest way to change the default branch in GitLab is through the user interface. Follow these steps:
- Go to your project in GitLab.
- Navigate to the Settings section on the left sidebar.
- Click on Repository to expand the repository settings.
- Scroll down to the Default branch section.
- Select the branch you want to set as the default from the dropdown menu.
- Click the Save changes button at the bottom of the page.
This method is straightforward and doesn’t require any command-line knowledge. It’s user-friendly, making it accessible for developers of all skill levels. Once you save your changes, the new default branch will be reflected in all future merge requests and when cloning the repository.
Method 2: Changing the Default Branch Using Git Commands
If you prefer using the command line, you can change the default branch using Git commands. This method is particularly useful for those who are comfortable with the terminal and want to automate the process. Here’s how to do it:
- First, make sure you’re in your local repository.
- Use the following command to change the default branch on the remote repository:
git push origin --delete old-default-branch
git push origin new-default-branch
In this command, replace old-default-branch with the name of your current default branch and new-default-branch with the name of the branch you want to set as the new default.
Output:
Deleted old-default-branch (was <commit-hash>).
After executing the command, you will see a confirmation message indicating that the old default branch has been deleted. This command effectively updates the remote repository, but you still need to change the default branch in the GitLab UI as described in the previous method.
Method 3: Using GitLab API to Change Default Branch
For those who prefer a programmatic approach, you can also change the default branch using the GitLab API. This method is especially useful for automating tasks or integrating with other tools. Here’s a simple example using Python:
import requests

url = "https://gitlab.example.com/api/v4/projects/YOUR_PROJECT_ID"
headers = {
    "PRIVATE-TOKEN": "YOUR_ACCESS_TOKEN"
}
data = {
    "default_branch": "new-default-branch"
}

response = requests.put(url, headers=headers, json=data)

print(response.json())
In this code, replace YOUR_PROJECT_ID with the ID of your GitLab project and YOUR_ACCESS_TOKEN with your personal access token. The data dictionary contains the new default branch name.
Output:
{
    "id": 123456,
    "default_branch": "new-default-branch",
    ...
}
This code snippet sends a PUT request to the GitLab API, updating the default branch for the specified project. The response will confirm the change, allowing you to verify that the update was successful.
Conclusion
Changing the default branch in GitLab is a straightforward process whether you choose to use the GitLab UI, command line, or API. Each method has its advantages, so you can choose the one that best fits your workflow. By keeping your default branch up to date, you can ensure a smoother development experience for your team and maintain better project organization. Remember, the default branch plays a crucial role in your project’s lifecycle, so make sure to choose wisely!
FAQ
-
How do I know which branch is currently set as the default?
You can check the default branch in the repository settings under the Repository section in GitLab. -
Can I change the default branch if I have open merge requests?
Yes, you can change the default branch even if there are open merge requests, but be mindful that it may affect the merge requests targeting the old default branch. -
What happens to the old default branch after I change it?
The old default branch remains in the repository unless you delete it manually. It will not be the primary branch for new merge requests. -
Is it possible to change the default branch for multiple projects at once?
Yes, you can use the GitLab API to automate changing the default branch for multiple projects programmatically. -
Do I need special permissions to change the default branch in GitLab?
Yes, you need to have at least Maintainer or Owner permissions for the project to change the default branch.