How to Remove Files From a Repository in Git
Managing files in a Git repository is a fundamental skill for developers, whether you’re working on a solo project or collaborating with a team. Sometimes, you may find the need to remove files from your repository. This can be due to a variety of reasons: the file is no longer needed, it was added by mistake, or you simply want to keep your repository clean and organized. Knowing how to effectively remove files is crucial to maintaining the integrity and clarity of your project.
In this tutorial, we will guide you through the various methods to remove files from a Git repository. Whether you prefer using the command line or a graphical interface, we’ll cover all the essential commands and techniques. By the end of this article, you’ll be well-equipped to manage your files in Git with confidence, ensuring that your repository remains tidy and efficient.
Using Git Commands to Remove Files
Removing a File from the Working Directory
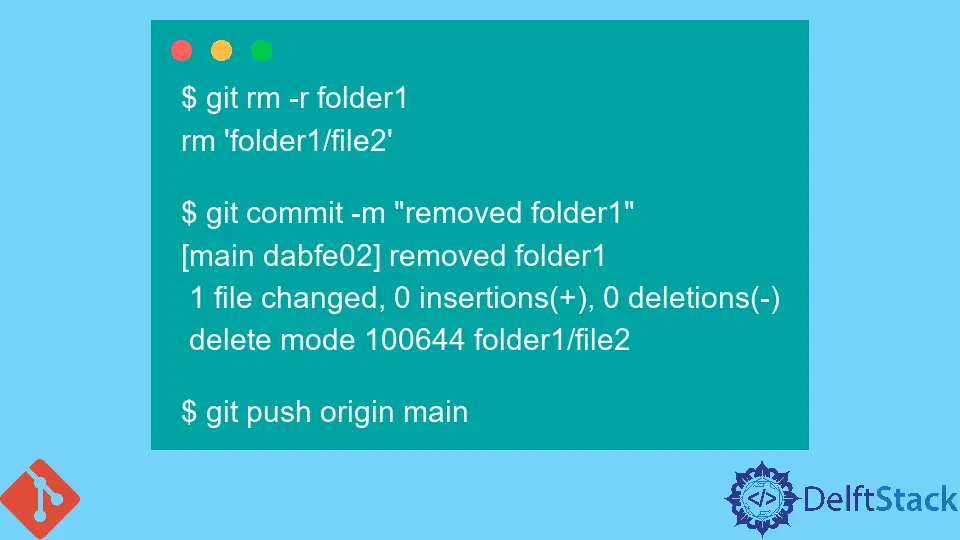
If you want to remove a file from your Git repository, the simplest way to do so is by using the git rm command. This command not only deletes the file from your working directory but also stages the removal for the next commit. Here’s how you can do it:
git rm filename.txt
git commit -m "Removed filename.txt from the repository"
In this example, replace filename.txt with the actual name of the file you wish to remove. The first command deletes the specified file from your working directory and stages the change. The second command commits this change, making it a permanent part of your repository history.
After executing these commands, you can check the status of your repository using git status, which will confirm that the file has been removed and staged for commit.
Output:
On branch main
Changes to be committed:
  (use "git restore --staged <file>..." to unstage)
    deleted:    filename.txt
Removing a File but Keeping It Locally
Sometimes, you may want to remove a file from the repository while keeping it in your local directory. This is useful when you want to stop tracking a file but still need it for local purposes. You can achieve this using the --cached option with the git rm command:
git rm --cached filename.txt
git commit -m "Stopped tracking filename.txt"
The --cached option tells Git to remove the file from the staging area without deleting it from your local file system. As a result, the file will remain in your directory but will no longer be tracked by Git. This is particularly helpful for files like configuration files or sensitive data that you don’t want to share with others.
After running these commands, you can verify the status with git status to see that the file is no longer being tracked.
Output:
On branch main
Changes to be committed:
  (use "git restore --staged <file>..." to unstage)
    deleted:    filename.txt
Removing Multiple Files
If you need to remove multiple files at once, you can simply list them in the git rm command. This saves you time and ensures that all the necessary files are removed in one go. Here’s how you can do it:
git rm file1.txt file2.txt file3.txt
git commit -m "Removed multiple files from the repository"
In this example, replace file1.txt, file2.txt, and file3.txt with the actual names of the files you want to remove. This command works the same way as before, deleting the specified files and staging the changes for your next commit.
If you have a large number of files to remove, you can also use wildcards. For instance, if you want to remove all .log files, you can run:
git rm *.log
git commit -m "Removed all log files"
Using wildcards can be a powerful way to manage your files efficiently. After committing, you can check the repository status to confirm the removals.
Output:
On branch main
Changes to be committed:
  (use "git restore --staged <file>..." to unstage)
    deleted:    file1.txt
    deleted:    file2.txt
    deleted:    file3.txt
Conclusion
Removing files from a Git repository is a straightforward process that can be accomplished using a few simple commands. Whether you need to delete a single file, stop tracking it while keeping it locally, or remove multiple files at once, Git provides the tools to do so efficiently. By mastering these techniques, you can maintain a clean and organized repository, ultimately leading to better project management and collaboration.
Now that you have the knowledge to remove files from your Git repository, feel free to apply these commands in your projects. Remember, a tidy repository not only helps you but also makes it easier for others to navigate and understand your work.
FAQ
-
How do I remove a file from a Git repository without deleting it locally?
Use the commandgit rm --cached filename.txtto stop tracking the file while keeping it in your local directory. -
Can I remove multiple files at once in Git?
Yes, you can list multiple files in thegit rmcommand or use wildcards to remove groups of files. -
What happens to the file once I remove it from the repository?
The file will be deleted from the repository’s history after you commit the changes, but you can always revert to previous commits if needed. -
Is there a way to undo a file removal in Git?
Yes, you can usegit restore filename.txtto bring back a deleted file before committing the changes. -
Can I remove files using a graphical interface?
Yes, many Git GUI clients allow you to remove files through a user-friendly interface without using command-line commands.