Difference Between CMD and ENTRYPOINT in Docker
Docker containers have become the standard when it comes to the management of software and dependencies in different environments. You’ll need to create a docker file before building your applications container image when working with real applications.
A docker file is simply a read-only text document with a set of instructions that will be called when assembling an image. These commands include the RUN, CMD, and ENTRYPOINT.
In this article, we will discuss the usage of these commands. Most developers who are probably at their initial stages of learning docker tend to use these commands interchangeably, which might cause you some problems.
the CMD Command in Docker
This command specifies an instruction executed whenever the docker RUN command is executed. This, however, requires that the docker RUN command be executed without specifying any arguments.
When arguments are specified, this command is overridden. On the other hand, the CMD command is executed if no command-line arguments are specified.
The CMD command is not mandatory for your docker container to properly function since the ECHO command can be used at runtime to serve the same purpose. However, the CMD command can be handy when running an executable file every time the container starts.
To demonstrate how we can use the CMD command to run an executable file at run time, we will create a simple docker container with a simple flask program that prints out a message. Note that this can be replicated in any language, not necessarily Python.
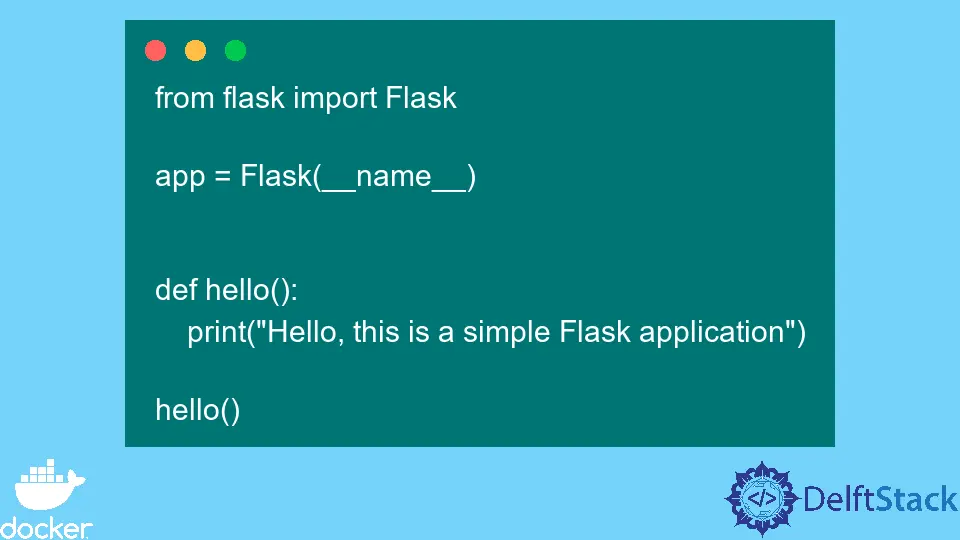
We will start by creating our main application, which should be as simple as shown below.
from flask import Flask

app = Flask(__name__)


def hello():
    print("Hello, this is a simple Flask application")


hello()
Within the same folder, we will create our Dockerfile using the command touch Dockerfile.
The Dockerfile only specifies the base image, the working directory, and the packages that should be installed.
In the last line, you should note the CMD command. In this case, we are using the CMD command to execute the app.py file when the container starts.
#  base image
FROM python

# Set your working directory
WORKDIR /var/www/

# Copy the necessary files
COPY ./app.py /var/www/app.py
COPY ./requirements.txt /var/www/requirements.txt

# Install the necessary packages
RUN pip install -r /var/www/requirements.txt

# Run the app
CMD python3 app.py
The requirements.txt should appear as shown below.
click==8.0.4
Flask==2.0.3
gunicorn==20.1.0
itsdangerous==2.1.0
Jinja2==3.0.3
MarkupSafe==2.1.0
Werkzeug==2.0.3
Now that we have everything ready, we can now go ahead and build the docker image. Before that, we need to make sure that we are in the same folder where our program is stored.
In our case, we’re going to cd into the my-app folder before building the image, as shown below.
~/my-app$ docker build -t isaactonyloi_image .
Output:
 => [internal] load build context                                                                                                          0.9s
 => => transferring context: 320B                                                                                                          0.1s
 => [2/5] WORKDIR /var/www/                                                                                                                5.1s
 => [3/5] COPY ./app.py /var/www/app.py                                                                                                    3.2s
 => [4/5] COPY ./requirements.txt /var/www/requirements.txt                                                                                3.2s
 => [5/5] RUN pip install -r /var/www/requirements.txt                                                                                    53.9s
 => exporting to image                                                                                                                     6.9s
 => => exporting layers                                                                                                                    5.8s
 => => writing image sha256:5847e4777754d9d576accd929076bfbee633ca71f049ebe1af6e9bae161f3e96                                               0.1s
 => => naming to docker.io/library/isaactonyloi_image                                                                                      0.2s
isaac@DESKTOP-HV44HT6:~/my-app$
We have successfully built our image based on the earlier docker file. We can verify that below.
~/my-app$ docker images
REPOSITORY           TAG       IMAGE ID       CREATED         SIZE
isaactonyloi_image   latest    5847e4777754   7 minutes ago   929MB
We can finally create our docker container using the docker run command based on this image. Also, note that we will do this without passing any arguments to execute the CMD command.
~/my-app$ docker run isaactonyloi_image
Hello, this is a simple Flask application
Besides this, the CMD command also allows us to create arguments that can be easily overridden at runtime.
We made changes to the CMD command in the example below. The other files remain intact, and we have rebuilt a new image.
# base image
FROM python

# Set your working directory
WORKDIR /var/www/

# Copy the necessary filesls
COPY ./app.py /var/www/app.py
COPY ./requirements.txt /var/www/requirements.txt

# Install the necessary packages
RUN pip install -r /var/www/requirements.txt

# Run the app
CMD ["echo", "Hello, Developer"]
Here is the new image that we rebuilt from our changes to the Dockerfile.
~/my-app$ docker images
REPOSITORY           TAG       IMAGE ID       CREATED          SIZE
new_image            latest    73f323be0d2f   25 minutes ago   929MB
We should get the message under the CMD command when creating a new docker container again without passing any argument.
isaac@DESKTOP-HV44HT6:~/my-app$ docker run new_image
Hello, Developer
However, the CMD command will automatically be overridden when we pass an argument at run time, and the new argument should take precedence. Therefore, it gives us the flexibility to add new arguments at runtime, as shown below.
~/my-app$ docker run new_image hostname
da0a832888cb
The output above shows that the CMD command is not executed and overridden by the new hostname argument.
the ENTRYPOINT Command in Docker
The docker ENTRYPOINT command has similarities with the CMD command, but not entirely the same.
When using the CMD command, we can easily override it by passing arguments at runtime, but this is not the case with the ENTRYPOINT command.
Therefore, ENTRYPOINT can be used not to override the entry point instruction at runtime.
As shown below, we can explore how this command works by simply replacing the CMD command with the ENTRYPOINT command in our Dockerfile. We will build a new image based on our changes to the docker file.
isaac@DESKTOP-HV44HT6:~/my-app$ docker build -t tonyloi_newimage .
[+] Building 42.7s (10/10) FINISHED
Output:
 => [internal] load build definition from Dockerfile                                                                                                                          2.0s
 => => transferring dockerfile: 365B                                                                                                                                          0.7s
 => [internal] load .dockerignore                                                                                                                                             1.6s
 => => transferring context: 2B                                                                                                                                               0.4s
 => [internal] load metadata for docker.io/library/python:latest                                                                                                             35.4s
 => [1/5] FROM docker.io/library/python@sha256:c90e15c86e2ebe71244a2a51bc7f094554422c159ce309a6faadb6debd5a6df0                                                               0.3s
 => [internal] load build context                                                                                                                                             1.2s
 => => transferring context: 63B                                                                                                                                              0.1s
 => CACHED [2/5] WORKDIR /var/www/                                                                                                                                            0.0s
 => CACHED [3/5] COPY ./app.py /var/www/app.py                                                                                                                                0.0s
 => CACHED [4/5] COPY ./requirements.txt /var/www/requirements.txt                                                                                                            0.0s
 => CACHED [5/5] RUN pip install -r /var/www/requirements.txt                                                                                                                 0.0s
 => exporting to image                                                                                                                                                        2.1s
 => => exporting layers                                                                                                                                                       0.0s
 => => writing image sha256:15fb8e4e3ff58ed529b11342bba75b029fd4323beb24aac70ca36b178d04cb34                                                                                  0.2s
 => => naming to docker.io/library/tonyloi_newimage                                                                                                                           0.1s
isaac@DESKTOP-HV44HT6:~/my-app$
This output is a testament that we have successfully built a new image. Now we can create a new docker container based on this image.
You can choose to create the container using the image name or the image id, both of which can be accessed using the docker images command. This will also display the images we created before.
~/my-app$ docker images
REPOSITORY           TAG       IMAGE ID       CREATED          SIZE
tonyloi_newimage     latest    15fb8e4e3ff5   48 minutes ago   929MB
new_image            latest    73f323be0d2f   48 minutes ago   929MB
isaactonyloi_image   latest    5847e4777754   48 minutes ago   929MB
If we build our docker container without adding any arguments, we should get an output like below.
isaac@DESKTOP-HV44HT6:~/my-app$ docker run tonyloi_newimage
Hello, Developer
If we try to pass arguments when creating another container based on this image, you would note that, unlike the case of the CMD command, these new arguments do not override the ENTRYPOINT command.
We can verify this below.
isaac@DESKTOP-HV44HT6:~/my-app$ docker run tonyloi_newimage Welcome to ADC
Hello, Developer Welcome to ADC
Conclusion
We can state that these two commands are very similar; however, their difference is that the CMD command can be overridden at runtime while the ENTRYPOINT command cannot.
Also, situations may warrant using the two commands simultaneously.

Isaac Tony is a professional software developer and technical writer fascinated by Tech and productivity. He helps large technical organizations communicate their message clearly through writing.
LinkedIn