Python で縦横比を維持しながら画像のサイズを変更する

この Python 記事の目的は、縦横比を維持しながら Python で画像のサイズを変更する方法を説明することです。 Python で画像のサイズを変更する方法も、適切なサンプル プログラムを使用してその使用法を説明します。
Python で縦横比を維持しながら画像のサイズを変更する
Python では、いくつかの定義済みパッケージを利用して画像のサイズを変更できます。 これらのパッケージをインポートし、重要な関数とメソッドを使用することで、縦横比を失うことなく Python でイメージのサイズを変更できます。
Python Imaging Library (PIL) を使用する
Python のイメージング ライブラリ PIL は、イメージング用の Python ライブラリです。
スクリプトの目的は、システム指向のタスクを自動化することです。 スクリプティングとは、実際のタスクのコードをコンパイルせずに書くことです。
強力な画像処理機能に加えて、PIL はさまざまな画像フォーマット (BMP、DIB、EPS、GIF、ICO、IM、MSP、PCX、PNG、PPM、SGI、TGA、TIFF、 WebP、XBM) および RGB、RGBA、B&W、モノクロなどの画像モード。
さらに、PIL は、Windows、Linux、および macOS を含むほとんどのオペレーティング システムと互換性があります。
Python の標準 GUI ライブラリは Tkinter です。 Python を Tkinter と組み合わせると、GUI アプリケーションをすばやく簡単に作成できます。
Tkinter を使用すると、オブジェクト指向の方法で Tk GUI ツールキットを操作できます。 Tkinter から PIL もインポートします。
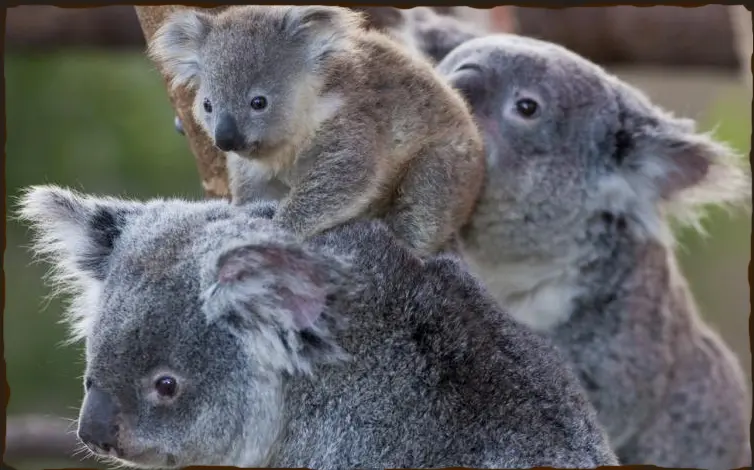
画像が選択されたとします。 サイズと元画像は以下の通り。
コード例:
# First, we have to import the modules here
from tkinter import *
from PIL import Image, ImageTk

# Now we are creating the object
root = Tk()
# Here, just reading the Image
image = Image.open("koala.png")
# Here now, using resize() method, resizing the image
resize_originalimage = image.resize((140, 80))
img_1 = ImageTk.PhotoImage(orgnlimg)
# creating, add resize image, and labeling it
label1 = Label(image=img_1)
label1.image = img_1
label1.pack()
# finally, executing the Tkinter
root.mainloop()
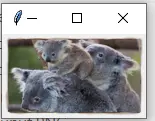
出力:
画像が画面に表示される場合でも、画像ファイルに保存される場合でも、画像は個別のピクセルで表されます。 画像データが画面表現と同じ解像度でない場合、エイリアシング効果が発生します。
サブサンプリングは、データを平滑化してから平滑化されたデータをサブサンプリングすることにより、エイリアシングを減らします。 この場合、ANTIALIAS が使用されます。
Resampling.LANCZOSは、サンプリングされたデータを補間して新しい値を生成する方法です。 この方法は、デジタル画像のサイズ変更など、多変量補間で一般的に使用されます。
元の画像サイズは 284 x 606 で、コードが実行されると、元の画像とサイズ変更された画像の違いもわかります。
コード例:
# Python Code to resize an image while maintaining the original aspect ratio, using the PIL Methods
import PIL
from PIL import Image

# setting the size of resized image
Imagewidth = 80
Imageheight = 100
img_2 = Image.open("bear.jpg")
wpercent = Imagewidth / float(img_2.size[0])
hsize = int((float(img_2.size[1]) * float(wpercent)))
# img = img.resize((mywidth,hsize), PIL.Image.ANTIALIAS)
img_2 = img_2.resize((Imagewidth, Imageheight), PIL.Image.Resampling.LANCZOS)
img_2.save("resizedImage.jpg")
img_2.show()
以下が原画です。

出力:

コードを実行すると、resizedImage.jpg という名前でディレクトリに保存されたサイズ変更された画像も表示されます。
Python で縦横比を維持して画像をトリミングする
以下は、PIL から使用されるサイズ変更と新しいサイズ メソッドで、画像のサイズを変更する代わりにトリミングします。
コード例:
# Importing Image class from PIL module by maintaining its aspect ratio
from PIL import Image
# Opens an image in RGB mode
# For the external path, we use this :
# img_3 = Image.open(r"Image Path of the Original Image")
# For internal path
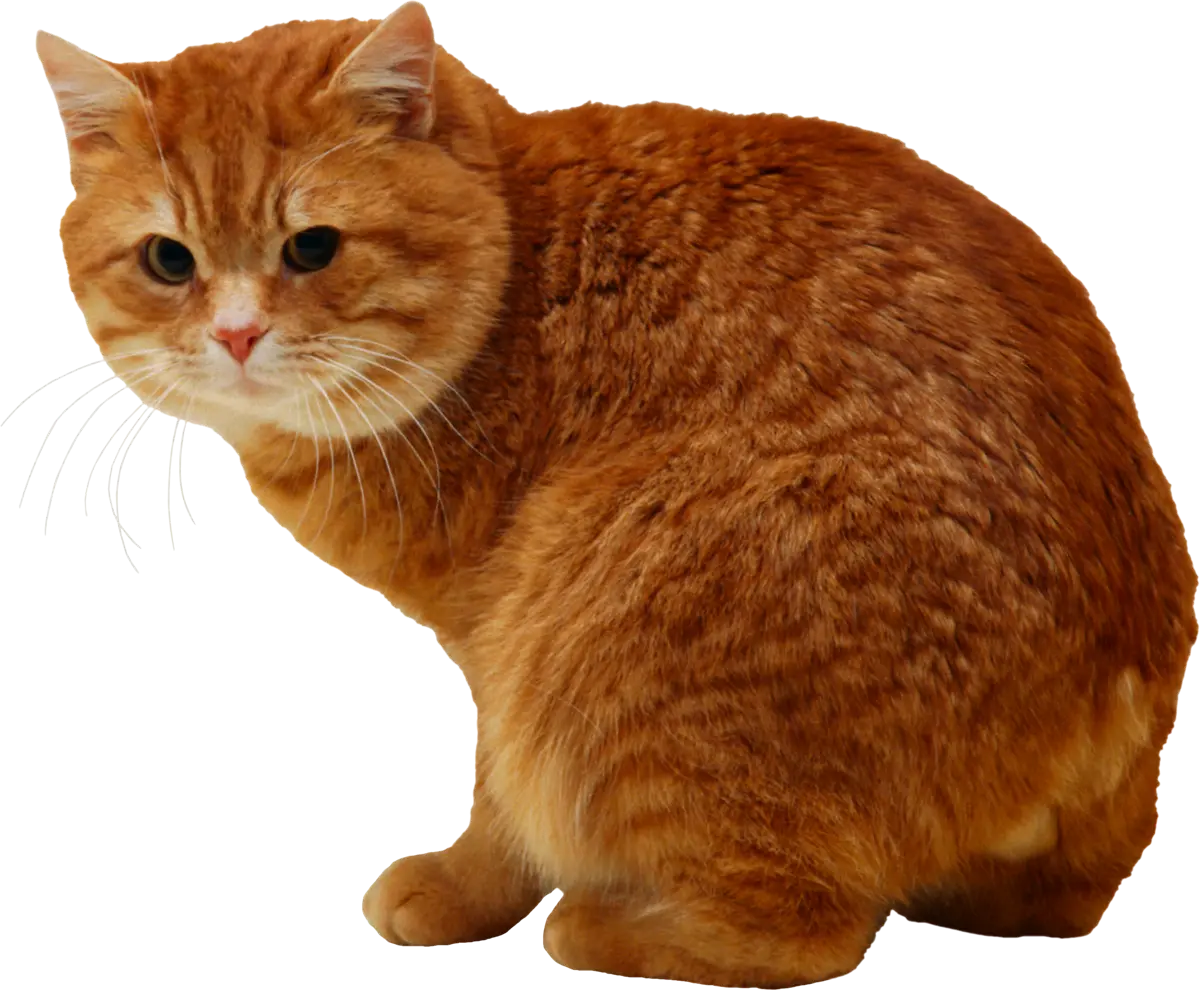
img_3 = Image.open("cat.png")
# The size of the image in pixels (size of the original image)
# (This is not mandatory)
width, height = img_3.size
# Setting the cropped image points
left = 4
top = height / 5
right = 154
bottom = 3 * height / 5
# Cropped image of the above dimension
# (It will not change the original image)
img_3 = img_3.crop((left, top, right, bottom))
newsize = (300, 300)
img_3 = img_3.resize(newsize)
# img_3=img_3.save(newsize)
# Shows the image in the image viewer
img_3.show()
以下が原画です。
出力:
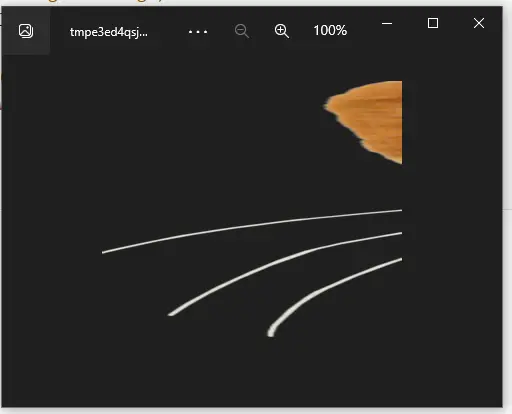
トリミングされた画像はコードの出力として表示されるため、PIL は縦横比を維持して画像のサイズを変更するだけでなく、トリミングも行うと想定できます。
Python では、Image.open を使用して、PIL を使用して画像のサイズを変更して読み取り、アスペクト比を維持しました。 新しい幅と高さを計算した後、 resize メソッドを使用して画像のサイズを変更し、新しい幅に従って同じ方法を使用して新しい画像を保存しました。
この記事が、Python で画像のサイズを変更する方法を理解するのに役立つことを願っています。

My name is Abid Ullah, and I am a software engineer. I love writing articles on programming, and my favorite topics are Python, PHP, JavaScript, and Linux. I tend to provide solutions to people in programming problems through my articles. I believe that I can bring a lot to you with my skills, experience, and qualification in technical writing.
LinkedIn