TypeScript を使用した Angular での getElementById の置換
-
TypeScript の
document.getElementById()メソッド -
TypeScript を使用した Angular での
getElementById置換としてElementRefを使用する

このチュートリアルガイドラインでは、TypeScript を使用した Angular での document.getElementById の置き換えについて簡単に説明します。
これは、コード例を使用して Angular で getElementById に使用される最良のメソッドも提供します。TypeScript での DOMquerySelector の目的についても学びます。
まず、TypeScript の document.getElementById メソッドと、それが開発者コミュニティで人気がある理由を学びましょう。
TypeScript の document.getElementById() メソッド
document.getElementById() は、document オブジェクトの操作に使用できる事前定義された JavaScript(および TypeScript)メソッドです。指定された値の要素を返し、要素が存在しない場合は null を返します。
document.getElementById() は、HTML DOM の開発者コミュニティで最も一般的で人気のあるメソッドの 1つです。
覚えておくべき重要なポイントの 1つは、2つ以上の要素が同じ ID を持っている場合、document.getElementById() が最初の要素を返すことです。
それでは、コーディング例をいくつか見て、その目的と使用法をよりよく理解しましょう。
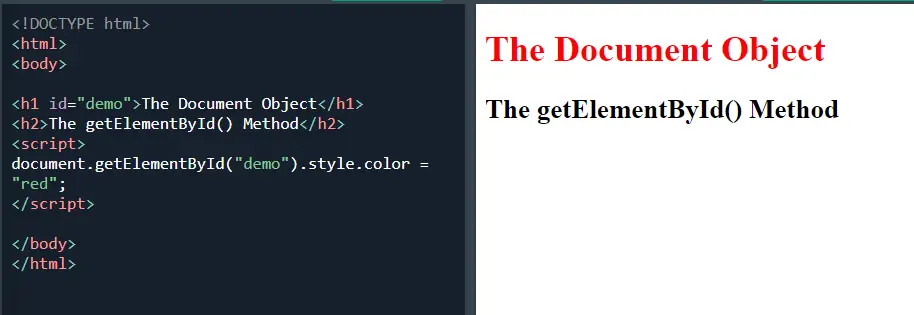
一意のデモ ID を持つテキストを含む h1 タグについて考えてみます。ここで、scripts セクションで、その特定のタグをターゲットにする場合は、document オブジェクトで使用可能な getElementById() メソッドを使用します。
<!DOCTYPE html>
<html>
<body>

<h1 id="demo">The Document Object</h1>
<h2>The getElementById() Method</h2>
<script>
    document.getElementById("demo").style.color = "red";
</script>

</body>
</html>
出力:
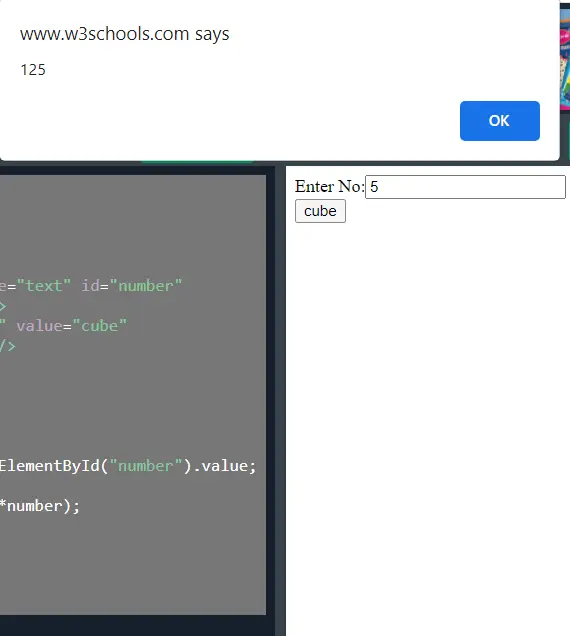
次に、もう 1つの動的な例を考えてみましょう。入力フィールドは数値を受け取り、そのキューブ値を返します。
<!DOCTYPE html>
<html>
<body>

<form>
    Enter No:<input type="text" id="number" name="number"/><br/>
    <input type="button" value="cube" onclick="getcube()"/>
</form>

<script>
    function getcube(){
        var number=document.getElementById("number").value;
        alert(number*number*number);
    }
</script>

</body>
</html>
出力:
次に、TypeScript を使用して、Angular での getElementById の置換を見てみましょう。
TypeScript を使用した Angular での getElementById 置換として ElementRef を使用する
AngularJs の ElementRef は HTML 要素のラッパーであり、プロパティ nativeElement を含み、基になる DOM オブジェクトへの参照を保持します。ElementRef を使用すると、TypeScript を使用して AngularJs の DOM を操作できます。
ViewChild を使用すると、コンポーネントクラス内の HTML 要素の ElementRef を取得できます。Angular では、コンストラクターで要求されているときに、コンポーネントのディレクティブ要素の ElementRef を挿入できます。
@ViewChild デコレータでは、クラス内の ElementRef インターフェイスを使用して要素参照を取得します。
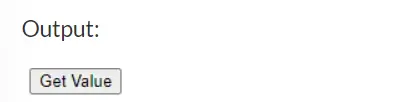
main.component.html のファイルにある AngularJs の次のコード例を考えてみましょう。イベントのあるボタンと、一意の IDmyName を持つ div があります。
# angular

<div #myName></div>

<button (click)="getData()">Get Value</button>
出力:
例 1(app.component.ts):
#angular
import { Component, VERSION, ViewChild, ElementRef } from "@angular/core";

@Component({
    selector: "my-app",
    templateUrl: "./main.component.html",
    styleUrls: ["./app.component.css"]
})

export class AppComponent {
    name = "Angular " + VERSION.major;
    @ViewChild("myName") myName: ElementRef;
    getData() {
        console.log(this.myName);
        this.myName.nativeElement.innerHTML = "I am changed by ElementRef & ViewChild";
    }
}
出力:
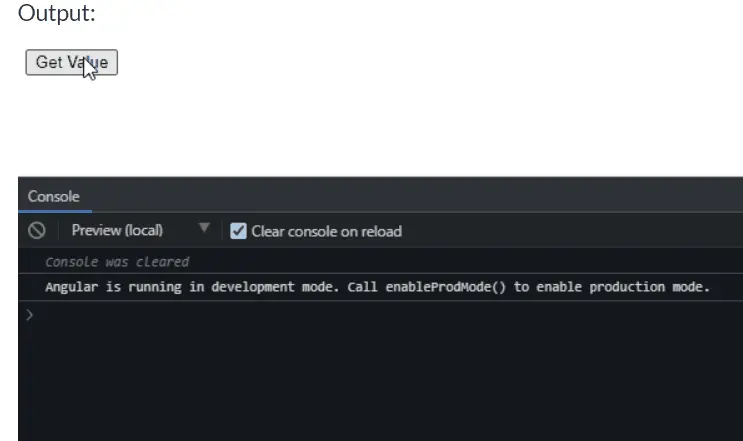
@ViewChild デコレータを使用して、クラス内の ElementRef インターフェイスを使用して入力の参照を取得します。次に、この参照で getData() 関数を使用してその値を変更します。
例 2(app.component.ts):
import { Component, ViewChild, ElementRef, AfterViewInit } from "@angular/core";

@Component({
    selector: "my-app",
    templateUrl: "./app.component.html",
    styleUrls: ["./app.component.css"]
})
export class AppComponent implements AfterViewInit {
    name = "Angular";

    @ViewChild("ipt", { static: true }) input: ElementRef;

    ngAfterViewInit() {
        console.log(this.input.nativeElement.value);
    }

    onClick() {
        this.input.nativeElement.value = "test!";
    }
}
出力:
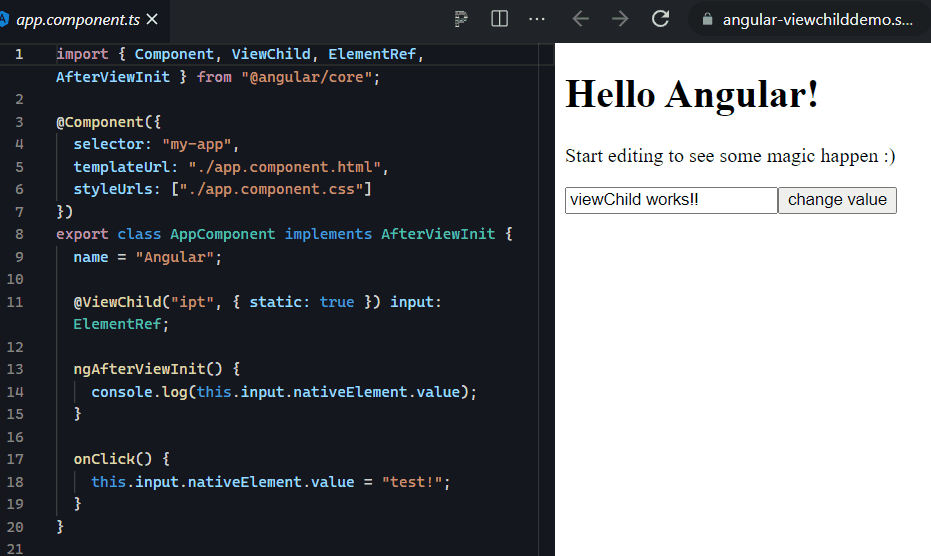
これにより、入力フィールドの参照が取得され、ボタンをクリックするとその内部テキストが変更されます。

Ibrahim is a Full Stack developer working as a Software Engineer in a reputable international organization. He has work experience in technologies stack like MERN and Spring Boot. He is an enthusiastic JavaScript lover who loves to provide and share research-based solutions to problems. He loves problem-solving and loves to write solutions of those problems with implemented solutions.
LinkedIn