Python 中的 NetworkX 包
- 在 Python 中安裝 NetworkX 包
- 在 Python 中使用 NetworkX 包將節點新增到圖形中
- 在 Python 中使用 NetworkX 包向圖形新增邊
- 在 Python 中使用 NetworkX 包從圖中刪除節點
- 在 Python 中使用 NetworkX 包從圖中刪除邊
本教程將介紹使用 Python NetworkX 包來研究複雜網路。
NetworkX 包包含內建方法,我們可以通過這些方法建立、操作和分析表示為圖形的複雜網路。
該庫提供了許多功能,例如圖形資料結構、建立和刪除節點、在節點之間新增連結以及許多其他圖形演算法。
在 Python 中安裝 NetworkX 包
要在 Python 程式中使用 NetworkX 包,我們應該首先使用以下命令安裝它。
#Python 3.x
pip install networkx
在 Python 中使用 NetworkX 包將節點新增到圖形中
要將節點新增到圖,首先,我們必須匯入 NetworkX 庫並通過呼叫 Graph() 方法建立一個空圖。在向圖中新增節點時,我們可以一個一個地新增,也可以一起新增。
我們將使用 add_node() 方法一一新增節點。要新增節點列表,我們將使用帶有可迭代物件的 add_nodes_from() 方法。
節點可以是不可變物件,例如 int、float、String、boolean、tuple 等。如果我們在圖中新增重複節點,它們將被忽略。
我們可以使用下面的程式碼將節點列印到圖表中。
# Python 3.x
import networkx as n

graph = n.Graph()
graph.add_node(1)
graph.add_node(2)
graph.add_node(3)
graph.add_node(4)
graph.add_nodes_from([5, 6, 7])
print("Nodes:", graph.nodes())
輸出:
#Python 3.x
Nodes: [1, 2, 3, 4, 5, 6, 7]
在 Python 中使用 NetworkX 包向圖形新增邊
通過連線兩個或更多節點,我們可以向圖中新增一條邊。我們可以一次新增一條邊或多條邊。
我們將使用 add_edge() 方法新增一條邊。為了一次新增多條邊,我們將使用 add_edges_from() 方法。
下面的程式碼是上面程式碼的延續。
# Python 3.x
graph.add_edge(1, 2)
graph.add_edge(3, 4)
graph.add_edges_from([(5, 6), (6, 7)])
print("Nodes:", graph.nodes())
print("Edges:", graph.edges())
輸出:
#Python 3.x
Nodes: [1, 2, 3, 4, 5, 6, 7]
Edges: [(1, 2), (3, 4), (5, 6), (6, 7)]
在上面的程式碼中,我們使用 add_ edge() 在節點 1 和 2 以及節點 3 和 4 之間新增了一條邊。我們同時使用 add_edges_from() 在節點 5 和 6 以及節點 6 和 7 之間新增邊。
最後,我們列印了圖的節點和邊。
在 Python 中使用 NetworkX 包從圖中刪除節點
我們還可以在 Python 中刪除圖中的節點。如果我們刪除一個節點,它的關聯邊也將被刪除。
要從圖中刪除單個節點,我們將使用 remove_node()。要同時刪除多個節點,我們將使用 remove_nodes_from()。
我們將一些可迭代的容器傳遞給這些方法,這些方法由要刪除的節點列表組成。當我們使用這些方法,並且相應的節點不存在時,會返回 NetworkX 錯誤。
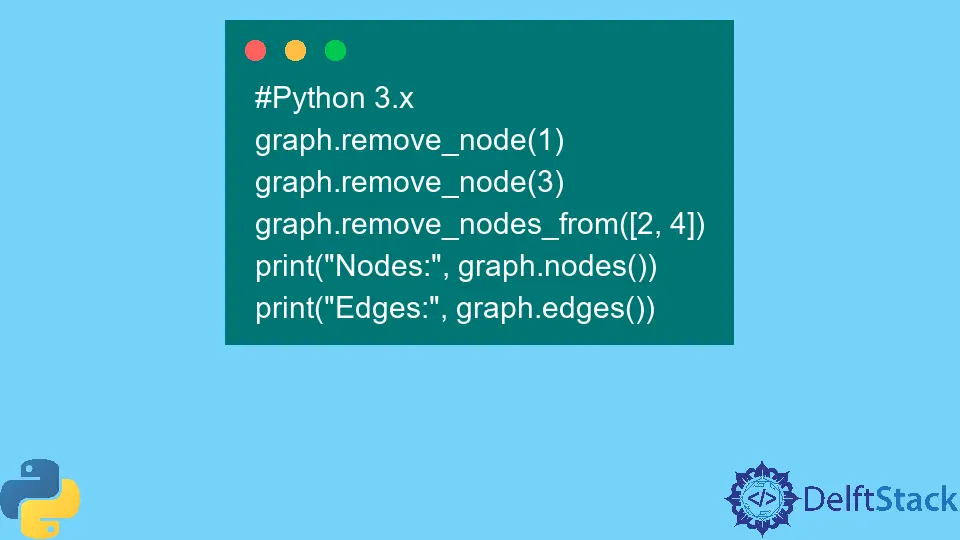
# Python 3.x
graph.remove_node(1)
graph.remove_node(3)
graph.remove_nodes_from([2, 4])
print("Nodes:", graph.nodes())
print("Edges:", graph.edges())
輸出:
#Python 3.x
Nodes: [5, 6, 7]
Edges: [(5, 6), (6, 7)]
在上面的程式碼中,我們使用 remove_node() 刪除了節點 1 和 3。我們同時使用 remove_nodes_from() 刪除了節點 2 和 4。
因此,與它們關聯的邊也被刪除。
在 Python 中使用 NetworkX 包從圖中刪除邊
要刪除圖的邊,我們將使用 remove_edge() 和 remove_edges_from() 方法。
如果我們想刪除一條邊,我們必須使用 remove_edge(),如果我們要同時刪除多條邊,我們必須使用 remove_edges_from()。
# Python 3.x
graph.remove_edge(5, 6)
graph.remove_edges_from([(6, 7), (4, 5)])
print("Nodes:", graph.nodes())
print("Edges:", graph.edges())
輸出:
#Python 3.x
Nodes: [5, 6, 7]
Edges: []
節點 5 和 6 之間的邊首先使用 remove_edge() 方法刪除。
我們還想使用 remove_edges_from() 方法刪除節點 6 和 7 以及節點 4 和 5 之間的邊;但是,節點 5 和 6 已被刪除。因此,該方法忽略了這一點。

I am Fariba Laiq from Pakistan. An android app developer, technical content writer, and coding instructor. Writing has always been one of my passions. I love to learn, implement and convey my knowledge to others.
LinkedIn