PHP 圖片上傳時的大小調整

在 PHP 中,我們可以在上傳時調整影象大小。PHP 有一個內建庫 gd 來執行影象操作;我們可以建立函式來調整上傳影象的大小。
本教程演示了在 PHP 中調整影象大小的不同方法。
使用 PHP gd 庫在上傳時調整影象大小
PHP 有一個 gd 庫來對影象執行操作。開啟你的 php.ini 檔案並執行以下操作:
;extension=php_gd2.dll
在 php.ini 中搜尋 gd 並刪除評論 ; 在 PHP 8 中,它是 gd,而 PHP 8 之前的版本是 gd2。
extension=php_gd2.dll
重新啟動伺服器,一切順利。
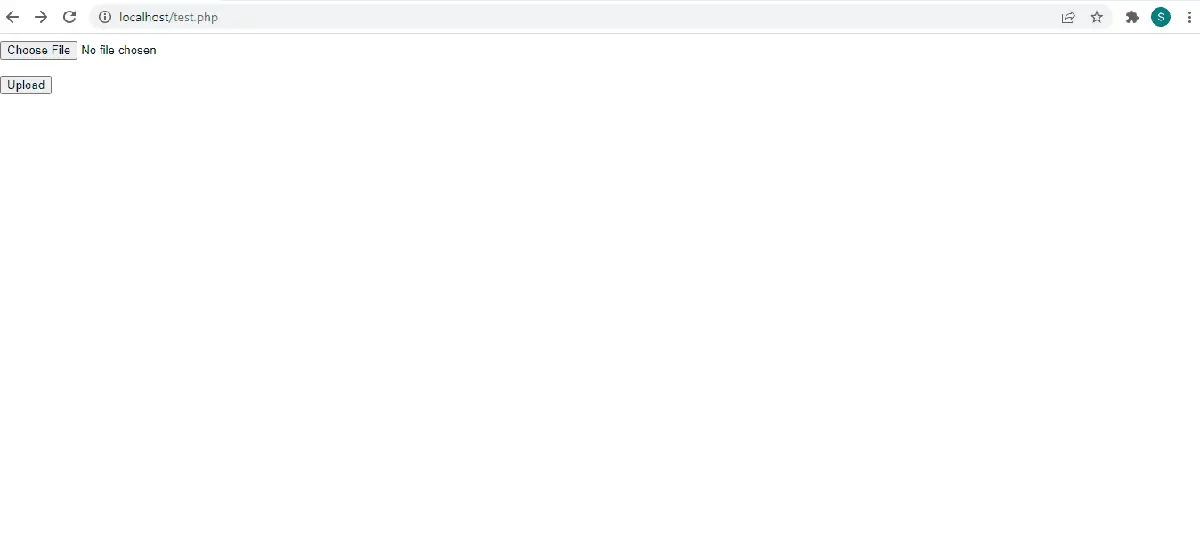
上傳圖片並調整大小的示例:
test.php:
<!DOCTYPE html>
<html>
<head>
    <title>PHP Resize Image On upload</title>
</head>
<body>
<div>

    <form action="action.php" method="post" enctype="multipart/form-data">
        <input type="file" name="uploadimage" />
		<br><br>
        <input type="submit" name="upload" value="Upload" />
    </form>

</div>
</body>
</html>
action.php:
<?php
if(isset($_POST["upload"])) {
    if(is_array($_FILES)) {
        $uploaded_file = $_FILES['uploadimage']['tmp_name'];
        $upl_img_properties = getimagesize($uploaded_file);
        $file_name_id= rand(10,100);
		$new_file_name = "Resized Image_".$file_name_id;
        $folder_path = "upload/";
        $img_ext = pathinfo($_FILES['uploadimage']['name'], PATHINFO_EXTENSION);
        $image_type = $upl_img_properties[2];

        switch ($image_type) {
			//for PNG Image
            case IMAGETYPE_PNG:
                $image_type_id = imagecreatefrompng($uploaded_file);
                $target_layer = image_resize($image_type_id, $upl_img_properties[0], $upl_img_properties[1]);
                imagepng($target_layer, $folder_path. $new_file_name. ".". $img_ext);
                break;
            //for GIF Image
            case IMAGETYPE_GIF:
                $image_type_id = imagecreatefromgif($uploaded_file);
                $target_layer = image_resize($image_type_id, $upl_img_properties[0], $upl_img_properties[1]);
                imagegif($target_layer, $folder_path. $new_file_name.".". $img_ext);
                break;
            //for JPEG Image
            case IMAGETYPE_JPEG:
                $image_type_id = imagecreatefromjpeg($uploaded_file);
                $target_layer = image_resize($image_type_id, $upl_img_properties[0], $upl_img_properties[1]);
                imagejpeg($target_layer, $folder_path. $new_file_name.".". $img_ext);
                break;

            default:
                echo "Please select a 'PNG', 'GIF'or JPEG image";
                exit;
                break;

        }

        //for the record move the uploaded file to the resized image directory
        move_uploaded_file($uploaded_file, $folder_path. "Original Uploaded Image_".$file_name_id.".". $img_ext);
        echo "Image is resized according to given Width and Height";
    }
}

function image_resize($image_type_id, $img_width, $img_height) {

    $target_width =1000;
    $target_height =1000;
    $target_layer= imagecreatetruecolor($target_width, $target_height);
    imagecopyresampled($target_layer, $image_type_id,0,0,0,0, $target_width, $target_height, $img_width, $img_height);
    return $target_layer;
}
?>
我們可以上傳一張圖片 PNG, GIF, JPEG 並使用上面的程式碼調整它的大小。
輸出:
在 PHP 中使用 verot.net 庫調整影象大小
verot.net 為 PHP 影象操作提供了一個庫。Verot 庫使圖片上傳操作變得簡單,並提供了不同的圖片上傳方式。
首先,從 Verot class.upload.php 下載庫。我們下載了 zip 檔案。在根目錄中提取 zip 檔案。
將有兩個資料夾,src 和 test。src 包含所有原始碼,test 包含上傳和處理上傳影象的程式碼。
開啟測試資料夾並執行 index.html:
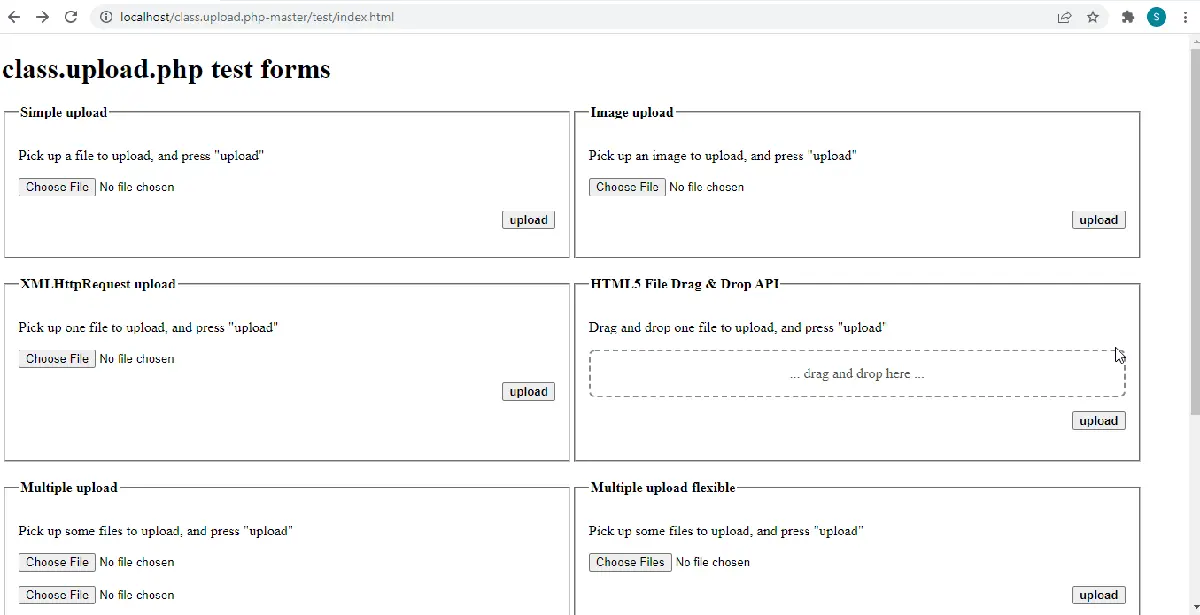
在索引頁面上,有很多選項。
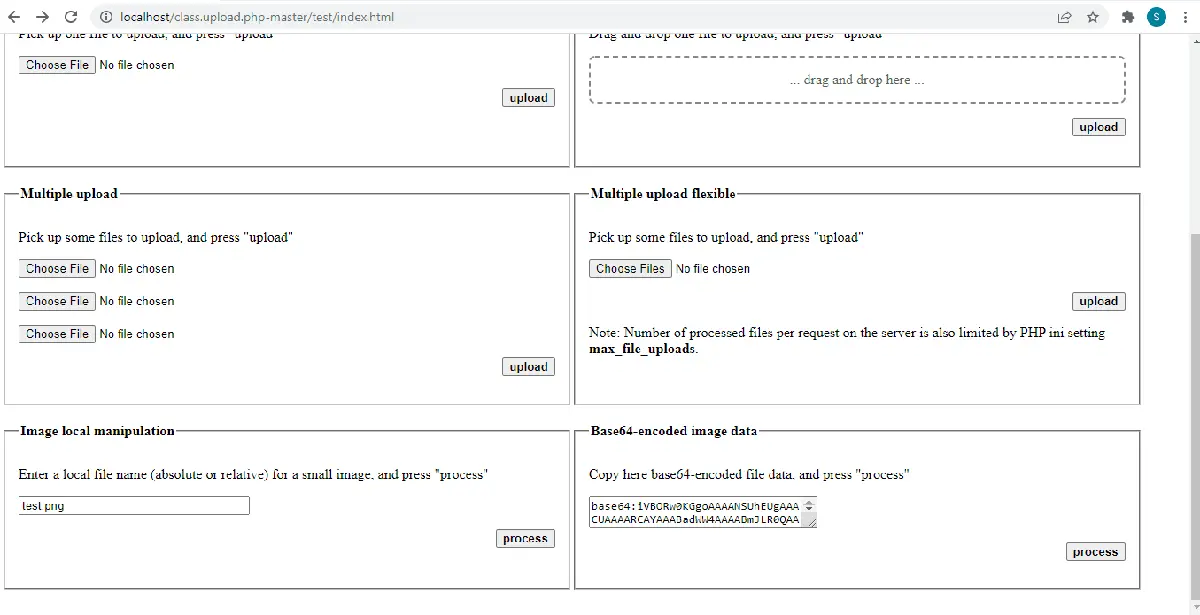
如果要調整影象大小,請轉到影象本地操作。輸入你的影象名稱並按處理。
輸出:
まとめ
正如我們所看到的,verot 處理了許多不同大小的影象,並將影象儲存在 tmp 目錄中。
測試資料夾中的 upload.php 正在執行所有這些操作。我們可以將 upload.php 中的程式碼用於任何特定活動。

Sheeraz is a Doctorate fellow in Computer Science at Northwestern Polytechnical University, Xian, China. He has 7 years of Software Development experience in AI, Web, Database, and Desktop technologies. He writes tutorials in Java, PHP, Python, GoLang, R, etc., to help beginners learn the field of Computer Science.
LinkedIn Facebook