JavaScript 中的動態陣列
Mehvish Ashiq
2023年10月12日
JavaScript
JavaScript Array
- JavaScript 中的靜態陣列與動態陣列
-
在 JavaScript 中使用
prompt()建立動態陣列 -
在 JavaScript 中使用
<input>標籤來建立動態陣列 - 在 JavaScript 中使用 DOM 元素和 jQuery 建立動態陣列

我們可以在 JavaScript 中動態建立陣列嗎?是的,當然,我們可以。
本文給出了在 JavaScript 中建立動態陣列的示例;有必要了解靜態陣列與動態陣列。
JavaScript 中的靜態陣列與動態陣列
通常,我們在建立陣列時確定陣列的大小或長度;此陣列型別是靜態或固定陣列。另一方面,動態陣列意味著在執行時分配記憶體並填充值。
它們還可以在執行時更新它們的大小,這克服了靜態陣列的限制。
在 JavaScript 中使用 prompt() 建立動態陣列
為了建立動態陣列,我們可以通過兩種方式獲取使用者的輸入,第一種是 prompt(),第二種是 <input> 元素。
prompt() 方法顯示一個對話方塊,提醒使用者輸入一個值。如果使用者點選 OK,prompt() 方法返回輸入值,否則返回 null。
另一方面,我們也可以使用 <input> 標籤來獲取使用者的輸入。它是一個 HTML 元素,具有各種型別。
我們將使用 type=text 的 <input>。讓我們從使用 prompt() 的示例開始。
JavaScript 程式碼:
var inputArr = [];
var tempVariable = '';
do {
  tempVariable = prompt('Enter a number. Press cancel or leave empty to exit.');
  if (tempVariable === '' || tempVariable === null) {
    break;
  } else {
    inputArr.push(tempVariable);  // the array will grow dynamically
  }
} while (1);
document.write(inputArr);
輸出:
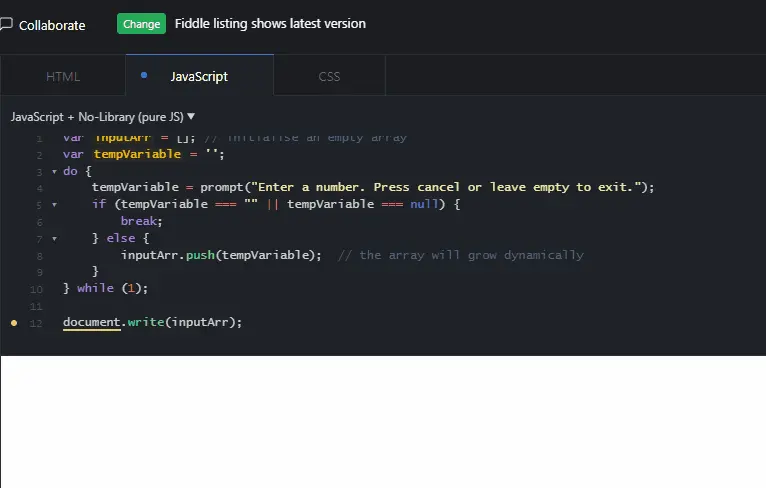
在這裡,如果輸入為空或 null,我們將退出程式碼;否則,使用 push() 方法將輸入值插入 inptuArr。
在 JavaScript 中使用 <input> 標籤來建立動態陣列
在下面的示例程式碼中,我們使用 <input> 元素從使用者那裡獲取輸入,並在執行時將其填充到陣列中。
HTML 程式碼:
<html>
	<head>
 		<title>Document</title>
 	</head>
 	<body>
 		<input type="text" id="num" />
 		<input type="button" id="addBtn"onclick="addValues();" value="Add" />
 		<br />
 		<input type="button" id="showBtn" onclick="showValues();" value="Show" />
 		<div id="container"></div>
 	</body>
</html>
CSS 程式碼:
#addBtn{
 background-color: lightgreen;
}
#showBtn{
 background-color: orange;
}
JavaScript 程式碼:
var arr = [];

function addValues() {
  var input = document.getElementById('num');
  if (input.value == '' || input.value == 'null')
    alert('The element can\'t be empty or null');
  else
    arr.push(input.value);
  input.value = '';
}

function showValues() {
  var html = '';
  for (var i = 0; i < arr.length; i++) {
    html += '<div>' + arr[i] + '</div>';
  }
  var container = document.getElementById('container');
  container.innerHTML = html;
}
輸出:
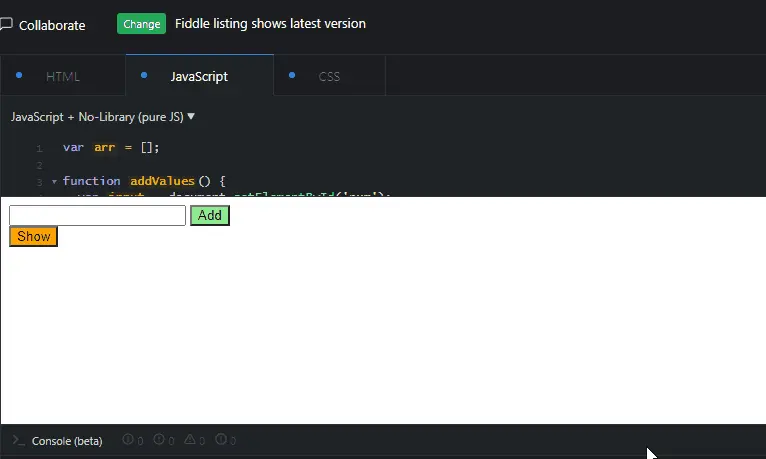
在這裡,我們檢查使用者按下 Add 按鈕時的輸入值。如果它為空或 null,我們會提醒使用者並再次輸入。
Show 按鈕顯示陣列的所有元素。
在 JavaScript 中使用 DOM 元素和 jQuery 建立動態陣列
使用 DOM 元素建立和填充動態陣列。讓我們使用 jQuery 來了解我們如何做到這一點。
HTML 程式碼:
<html>
 	<head>
 		<title>Document</title>
 	</head>
 	<body>
 		<ul id="filelisting">
 			<li><a href="path/to/file1.docx">File Title1</a></li>
 			<li><a href="path/to/file.docx">File Title2</a></li>
 			<li><a href="path/to/file3.docx">File Title3</a></li>
 		</ul>
 	</body>
</html>
JavaScript 程式碼:
var fileList = [];

$('ul#filelisting li a').each(function() {
  fileList.push({File_Title: $(this).text(), File_Path: $(this).attr('href')});
});
console.log('The content of the array is given below:');
console.log(fileList);
輸出:
"The content of the array is given below:"
[{
 File_Path: "path/to/file1.docx",
 File_Title: "File Title1"
}, {
 File_Path: "path/to/file.docx",
 File_Title: "File Title2"
}, {
 File_Path: "path/to/file3.docx",
 File_Title: "File Title3"
}]
Enjoying our tutorials? Subscribe to DelftStack on YouTube to support us in creating more high-quality video guides. Subscribe
作者: Mehvish Ashiq
