HOWTO · React
React Native で Google フォントを使用する
この記事は、React ネイティブでカスタム フォント、つまり Google フォントを使用するのに役立ちます。
このページの内容
この投稿では、expo-google-fonts ライブラリを使用して独自のフォントを React ネイティブ アプリケーションにインポートする方法を紹介します。
React Native で Google フォントを使用する
私たちのプログラムには、開始ステップとしていくつかのボイラープレートを追加する必要があります。 プログラムに次のコードを追加します。
import {StatusBar} from 'expo-status-bar';
import {StyleSheet, Text, View} from 'react-native';

export default function App() {
  return (
    <View style={styles.container}>
      <Text style={styles.text}>Hello World!</Text>
      <StatusBar style="auto" />
    </View>
  );
}

const styles = StyleSheet.create({
  container: {
    flex: 1,
    backgroundColor: "#000",
    alignItems: "center",
    justifyContent: "center",
  },
  text: {
    fontSize: 24,
    color: "white",
  },
});
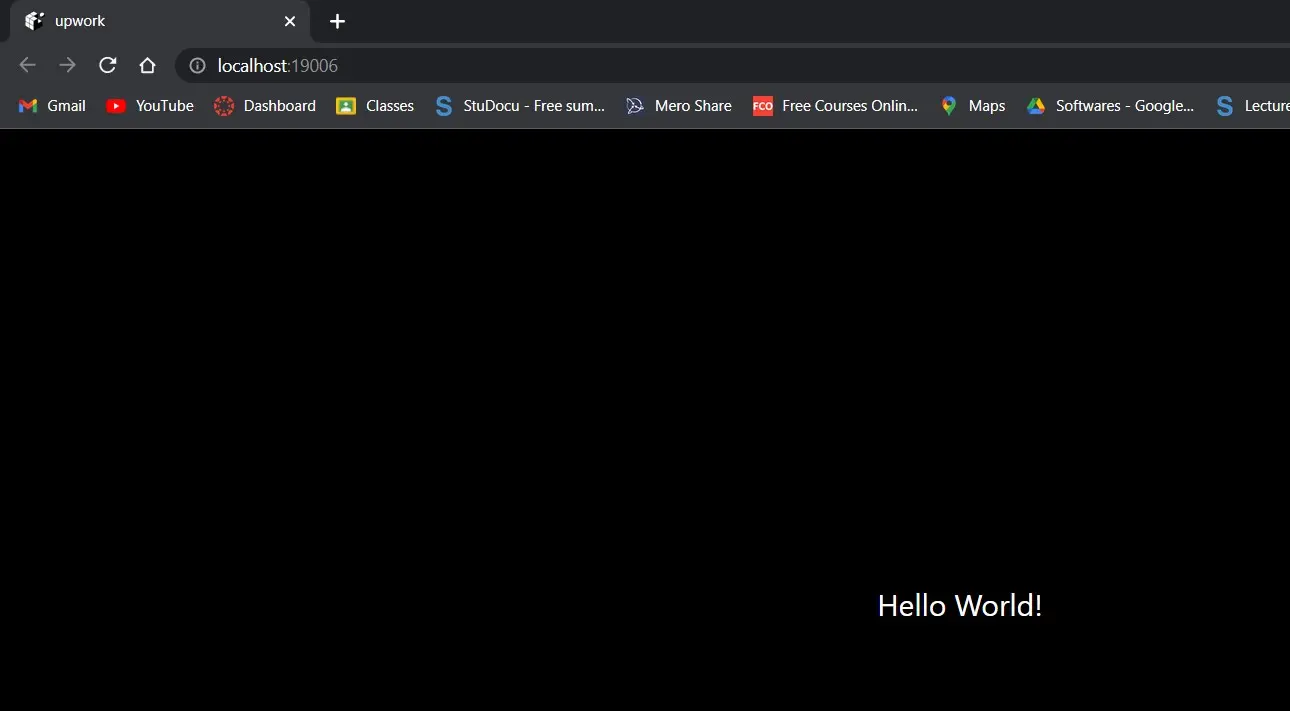
上記のコードはデフォルトのフォントを使用しており、次のようになります。
ボイラープレートが設定されたので、いよいよ Expo-Google-Fonts と Expo-Font をプロジェクトに追加します。
最初のステップは、expo を使用してライブラリをインストールすることです。 expo-google-font は こちら から入手できます。
次のように expo-google-fonts をインストールできます。
expo install @expo-google-fonts/finger-paint
その後、次のインポート行をアプリのヘッダーに追加します。
import {FingerPaint_400Regular, useFonts,} from '@expo-google-fonts/finger-paint';
このアプリケーションでは FingerPaint_400Regular フォントを使用し、useFonts はアプリケーションの読み込みに役立ちます。
useFonts フックは、フォントをプログラムにロードするために使用されます。 次に、テキスト スタイルのフォント ファミリーを FingerPaint_400Regular に設定します。
import {FingerPaint_400Regular, useFonts,} from '@expo-google-fonts/finger-paint';
import {StatusBar} from 'expo-status-bar';
import {StyleSheet, Text, View} from 'react-native';

export default function App() {
  let [fontsLoaded] = useFonts({
    FingerPaint_400Regular,
  });
  return (
    <View style={styles.container}>
      <Text style={styles.text}>Hello World!</Text>
      <StatusBar style="auto" />
    </View>
  );
}

const styles = StyleSheet.create({
  container: {
    flex: 1,
    backgroundColor: "#000",
    alignItems: "center",
    justifyContent: "center",
  },
  text: {
    fontSize: 24,
    color: "white",
    fontFamily: "FingerPaint_400Regular",
  },
});
ほとんどの場合、フォントが変更されていないか、変更されていたとしても、予期したタイプに変更されていません。 これは、書体よりも先にアプリケーションが読み込まれるためです。
これを修正するには、React Native が提供する AppLoading コンポーネントを利用して、フォントが読み込まれるまでスプラッシュ スクリーンの可視性を維持する必要があります。
AppLoading コンポーネントを使用する前に、まずプロジェクトに追加する必要があります。 コンポーネントをインストールするには、端末に次のコードを入力します。
expo install expo-app-loading
そして、それをアプリのヘッダーにインポートします。
import AppLoading from 'expo-app-loading';
AppLoading を活用するには、アプリで条件付きレンダリングを実行する必要があります。
AppLoading コンポーネントは、フォントが読み込まれる前に表示されます。 しかし、フォントが正しく読み込まれると、代わりにメイン コンテンツが表示されます。
コードは次のとおりです。
import {FingerPaint_400Regular, useFonts,} from '@expo-google-fonts/finger-paint';
import AppLoading from 'expo-app-loading';
import {StatusBar} from 'expo-status-bar';
import {StyleSheet, Text, View} from 'react-native';

export default function App() {
  let [fontsLoaded] = useFonts({
    FingerPaint_400Regular,
  });

  if (!fontsLoaded) {
    return <AppLoading />;
  } else
    return (
      <View style={styles.container}>
        <Text style={styles.text}>Hello World!</Text>
        <StatusBar style="auto" />
      </View>
    );
}

const styles = StyleSheet.create({
  container: {
    flex: 1,
    backgroundColor: "#000",
    alignItems: "center",
    justifyContent: "center",
  },
  text: {
    fontSize: 24,
    color: "white",
    fontFamily: "FingerPaint_400Regular",
  },
});
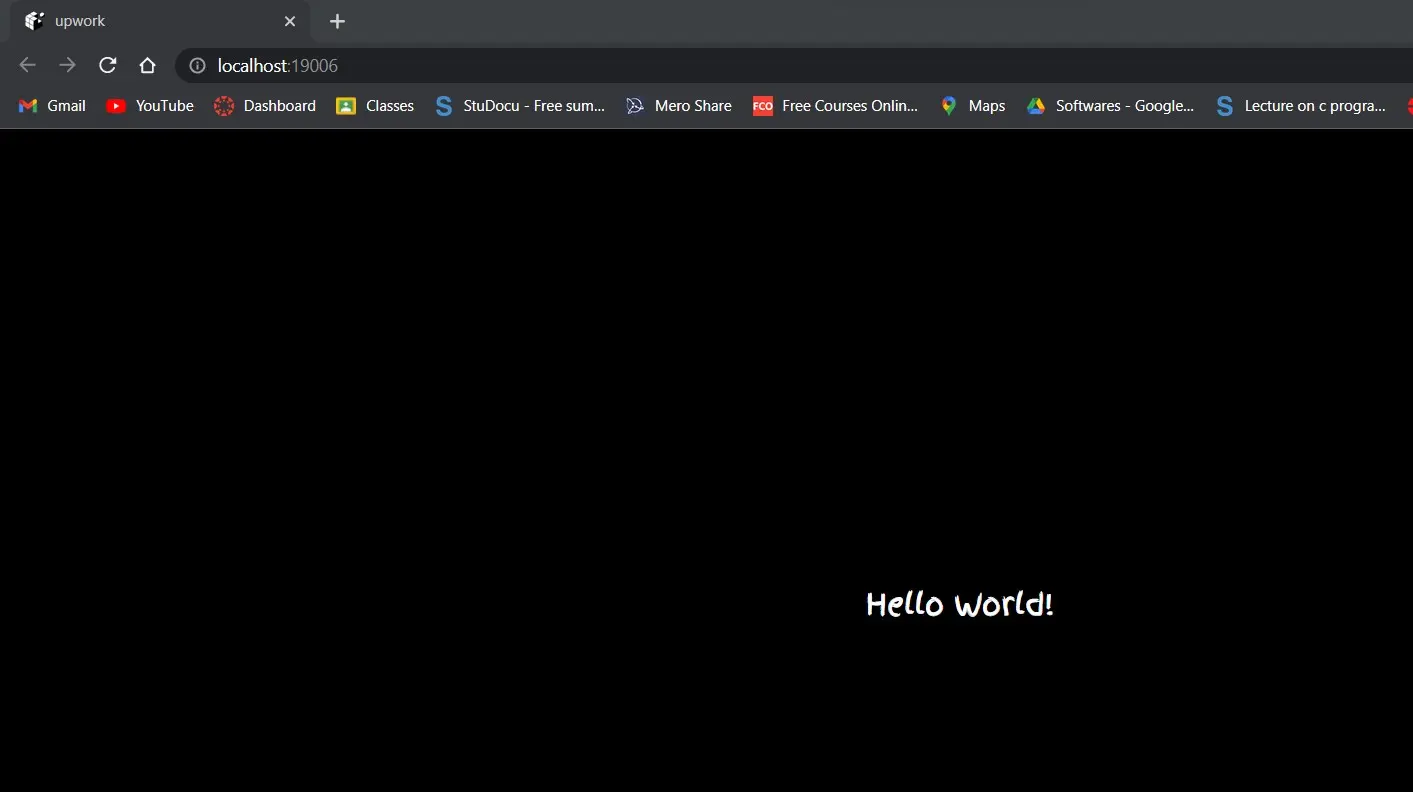
次の画面がアプリに表示されるはずです。
このトピックに関する議論は終了しましたが、まだ取り上げたいことがあります。 別のフォントを使用する場合は、こちら にリストされている各フォントに必要な import ステートメントが expo-google-fonts ディレクトリにあります。
それぞれに import ステートメントとライブラリがあるため、正しいフォントをインストールする必要があります。