jQuery Deshabilitar y habilitar entrada

Habilitar y deshabilitar el campo de entrada es una operación fácil usando jQuery. Este tutorial demuestra cómo deshabilitar o habilitar el campo de entrada en jQuery.
jQuery Deshabilitar entrada
El método prop() puede deshabilitar una entrada usando jQuery. La sintaxis para este método se proporciona a continuación.
prop('disabled', true)
Toma dos parámetros, el valor disabled, que se establece en true. Probemos un ejemplo para el método prop().
<!DOCTYPE html>
<html lang="en">
<head>
    <meta charset="utf-8">
    <title>Disable Enable Input with jQuery</title>
    <style>
    label {
        display: block;
        margin: 10px 0;
    }
    </style>
    <script src="https://code.jquery.com/jquery-3.5.1.min.js"></script>
    <script>
    $(document).ready(function(){
        $(".disable").click(function(){
            if($(this).prop("checked") == true){
                $('form input[type="text"]').prop("disabled", true);
            }
        });
    });
    </script>
</head>
<body>
    <form>
        <label><input type="checkbox" class="disable"> Check the box to disable the input fields below</label>
        <label>Name: <input type="text" name="username"></label>
        <label>ID: <input type="text" name="username"></label>
        <label>Address: <input type="text" name="username"></label>

    </form>
</body>
</html>
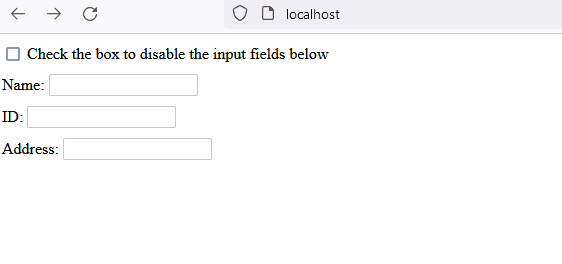
El código anterior deshabilitará la entrada una vez que marquemos la casilla. Ver salida:

jQuery Habilitar entrada
De manera similar, el método prop también se usa para habilitar las entradas en jQuery. La sintaxis para habilitar la entrada será:
prop('disabled', false)
Donde el parámetro true se cambiará a false, probemos un ejemplo para habilitar la entrada.
<!DOCTYPE html>
<html lang="en">
<head>
    <meta charset="utf-8">
    <title>Disable Enable Input with jQuery</title>
    <style>
    label {
        display: block;
        margin: 10px 0;
    }
    </style>
    <script src="https://code.jquery.com/jquery-3.5.1.min.js"></script>
    <script>
    $(document).ready(function(){
        $('form input[type="text"]').prop("disabled", true);
        $(".disable").click(function(){
            if($(this).prop("checked") == true){
                $('form input[type="text"]').prop("disabled", false);
            }
        });
    });
    </script>
</head>
<body>
    <form>
        <label><input type="checkbox" class="disable"> Check the box to enable the input fields below</label>
        <label>Name: <input type="text" name="username"></label>
        <label>ID: <input type="text" name="username"></label>
        <label>Address: <input type="text" name="username"></label>

    </form>
</body>
</html>
El código anterior primero deshabilita todos los campos, luego los habilita marcando la casilla. Ver salida:

Sheeraz is a Doctorate fellow in Computer Science at Northwestern Polytechnical University, Xian, China. He has 7 years of Software Development experience in AI, Web, Database, and Desktop technologies. He writes tutorials in Java, PHP, Python, GoLang, R, etc., to help beginners learn the field of Computer Science.
LinkedIn Facebook